

At this point, we’ve all gone through our homes to get rid of anything that doesn’t “spark joy” for us. Our tee-shirts are perfectly folded, our closets are straightened and organized by color, and our books sit neatly on clean, dusted shelves. However our kitchens seem to need constant cleaning!
Keeping your kitchen clean and organized doesn’t have to be a chore. With this spring cleaning checklist, you can create a stress-free, well organized cooking space your whole family can enjoy.

RESTOCKING BAKING INGREDIENTS
Are your cookies not quite rising like they used to? It may be because you’re using expired ingredients. Believe it or not, flour, baking powder, baking soda and your favorite go-to spices all have a shelf life. Using them past the date posted on the package could result in poor bakes.
For best results when baking and cooking, take note of the date printed on your ingredients and replace as necessary. If you can’t remember when you bought it: toss it. If your flour smells funky or your cinnamon has lost its delicious cinnamon-ness, toss it. A safe rule of thumb is to replace all your baking ingredients and spices once a year (I usually do it right before I start my holiday baking).
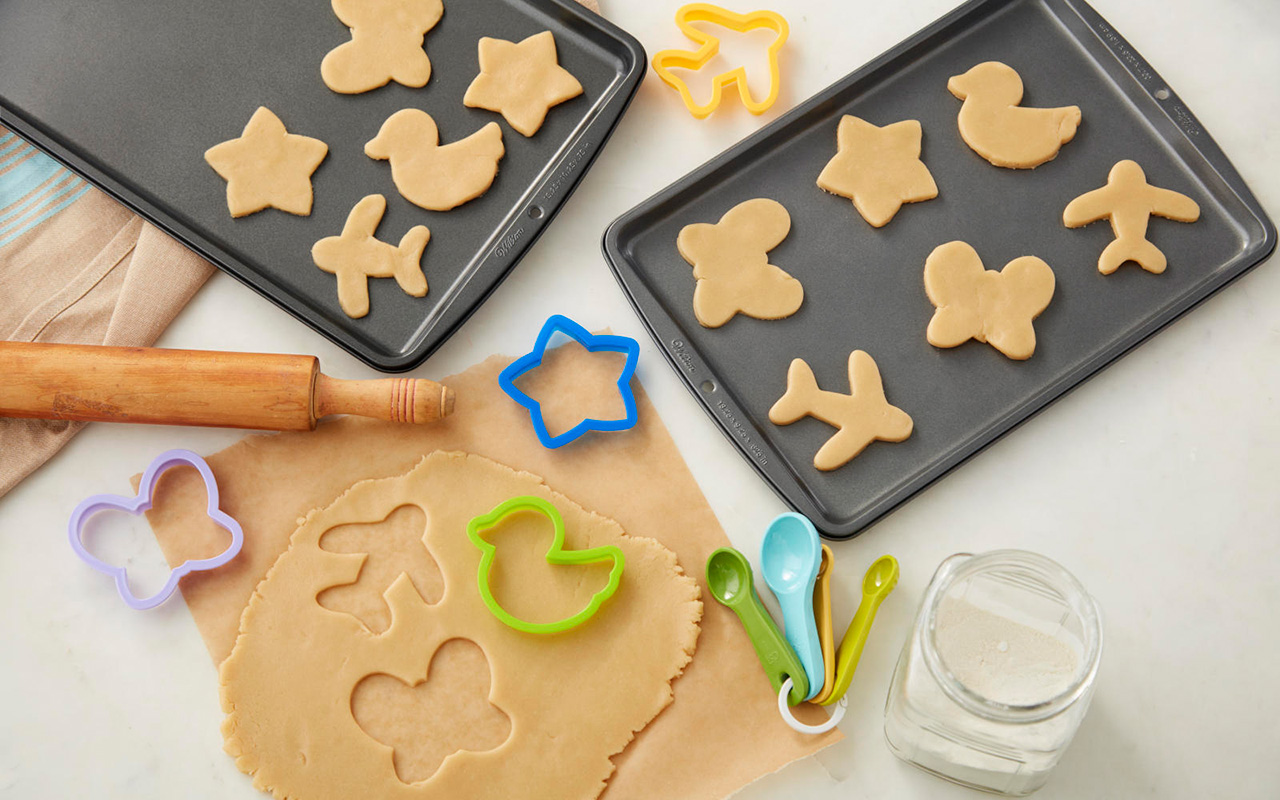
DECLUTTERING KITCHEN GADGETS
No matter how big or small your kitchen, it seems that everyone still has a gadget drawer. Stuffed full with spatulas, whisks, measuring cups, peelers and other random tools, there’s no denying there’s at least one or two items in there you never use.
When it comes to purging and organizing kitchen tools, make sure you at least have the basics: liquid and dry measuring cups, measuring spoons, a rolling pin, a whisk, a few spatulas and a veggie peeler are a good start.
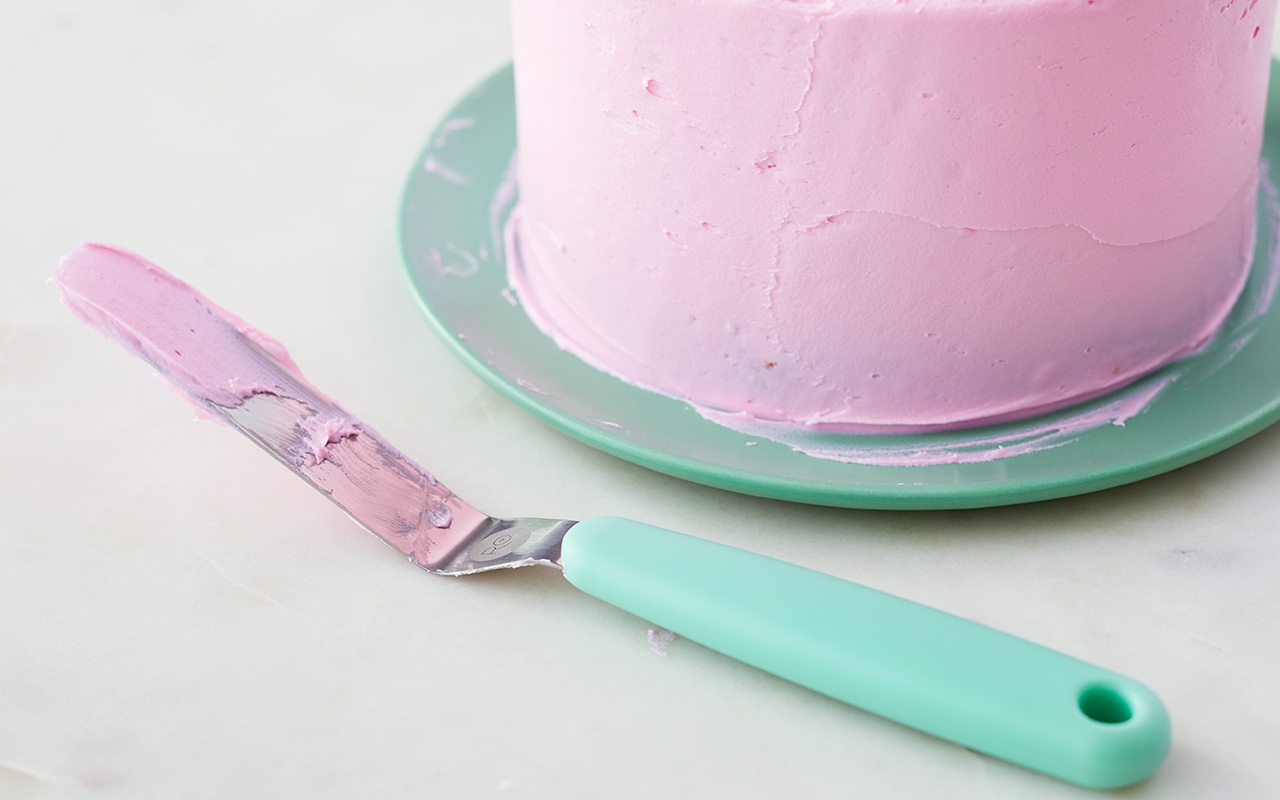
REFRESHING OLD BAKEWARE
Normal wear and tear is common with bakeware. Some recipes may stain your pans, but that shouldn’t affect their performance. However if you have pans with deep scratches or pans that look like they’ve developed rust, it’s time to go shopping!
For long-lasting bakeware we suggest hand-washing it, even if it’s dishwasher safe. Let your pans cool completely before washing (washing hot pans may cause them to warp) and if food is stuck on your pan, let it soak in warm, soapy water instead of going at it with an abrasive pad.
When it comes to storing your pans, make sure they’re totally dry before putting them away. To save space, stack pans according to size, nesting smaller pans in the larger ones. If you have the space, you can also store cookie sheets upright so they’re easy to take out and put away.
You can read more about how to use, store and care for your bakeware in our Good Use and Care of Bakeware article.

CLEANING THE OVEN (FOR REAL THIS TIME)
Though most ovens nowadays include a programmed self-cleaning function, we all know that using it can make our newly organized home hot and smelly. Thankfully there is a much safer way to clean and de-grease the heart of your kitchen without setting off the smoke detector or using harsh chemicals.
This How to Clean Your Oven article outlines how you can use a baking soda paste to remove nasty build-up in your oven. Since the paste needs to sit overnight, we suggest doing this part first then going about cleaning the rest of your kitchen.
For optimal performance, it’s suggested that you clean your oven at least once every three to six months, or as needed. While that might sound daunting, keep in mind that a clean oven is not only energy efficient, but it distributes heat more effectively for better bakes.
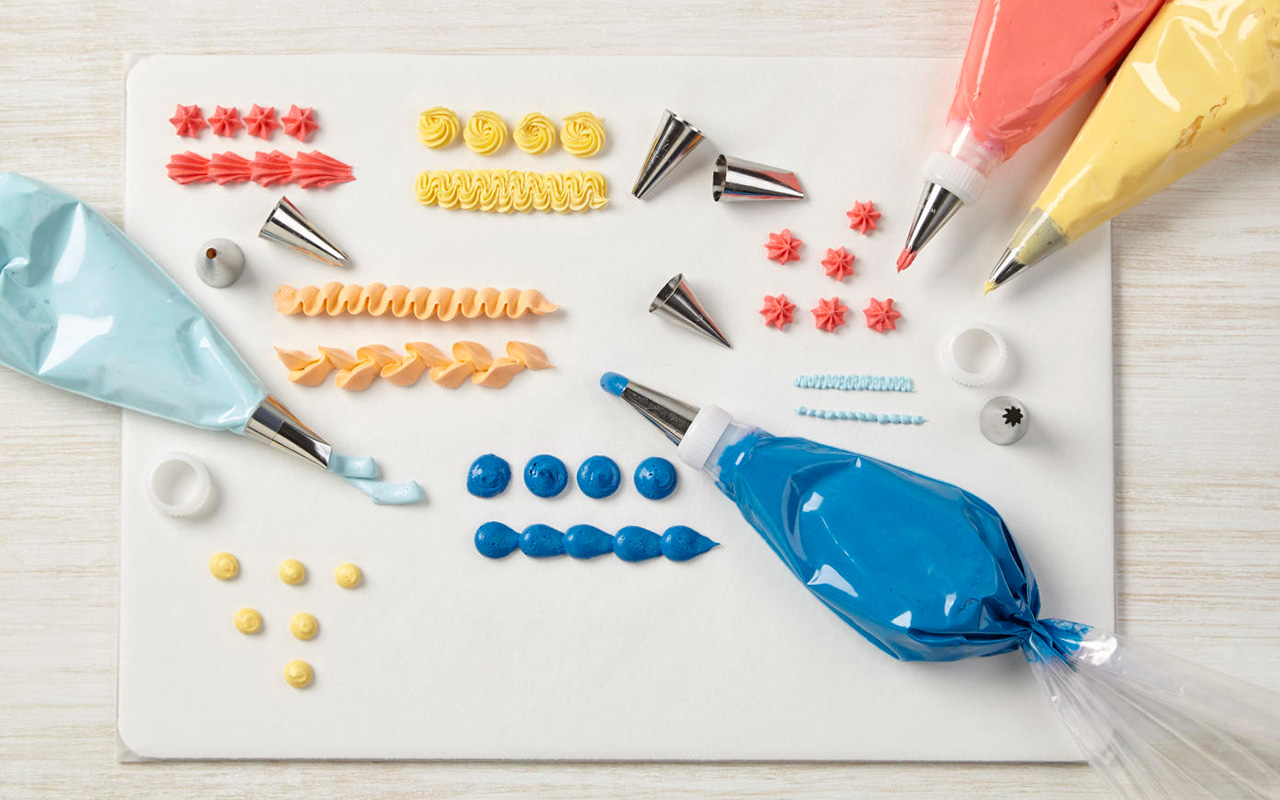
CLEANING YOUR DECORATING TIPS
There are several ways to make sure your decorating tips stay in tip-top shape for piping buttercream and royal icing. One of the most effective ways is to use the Dishwasher Tip Tray. With slots to hold ten standard decorating tips, this tray is designed to allow water to flow through the tips for easy cleaning. The snap-on lid keeps tips secure so you don’t lose any in the dishwasher (we’ve all been there, right?).
If you don’t have a dishwasher, no worries! Simply drop your metal tips in a bowl of hot, soapy water (simmering, but not boiling). Let soak for 5 to 10 minutes, or until they’re clean. For hard-to-reach places, use the Tip Cleaning Brush.
OTHER HELPFUL TIPS FOR CLEANING AND ORGANIZING YOUR KITCHEN:
- Take all the food out of your cabinets and fridge and assess it piece by piece. Make sure to check expiration dates before restocking your shelves.
- When you’re organizing your cabinets or pantry, place older items in front and newer items in back. Same with the food in your fridge.
- Open a new box of baking soda and place it in the fridge to remove any odors.
- A toothbrush is a handy tool for scrubbing and cleaning some of those hard-to-reach places.
What’s your favorite kitchen cleaning hack? Let us know in the comments below!


