
If you’re wondering how to make homemade sugar cookies for your next upcoming party or celebration, you’ve come to the right place! From the tools you need to get started to some helpful projects to try for birthdays and holidays, this guide will help you learn everything you need to know so that you can cross grocery store sugar cookies off your shopping list for good!

The Tools You’ll Need
Making sugar cookies is easy when you have the right tools for the job! Here’s a breakdown of what you’ll need to get started.
- Cookie Sheet (or two!): Having at least two cookie sheets will make it easier to swap cookies in and out of the oven, since you can be prepping one pan as another pan bakes! We suggest this Recipe Right cookie sheet for everyday baking or you can use the Mega Baking Sheet for those bigger Christmas batches!
- Cooling Grid
- Rolling Pin
- Parchment Paper
- Cookie Spatula
Tips on Rolling Out Your Cookie Dough
Before you start rolling out your dough, make sure to dust your work surface with flour. This will help prevent the dough from sticking to the counter. While you’re at it, have a little bowl of flour on the side, since you’ll be using quite a bit of it to dust your dough and your tools…and be sure to wear an apron because flour has the tendency to get everywhere!
For easy rolling, divide your dough into two portions. Set one portion aside and place the other on your floured surface, using your hands to lightly shape the dough into a flat disk.
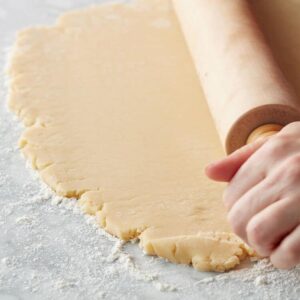
Sprinkle your rolling pin and the top of your dough with flour, then start rolling! Starting from the center and moving the rolling pin outwards, roll your dough until it’s about 1/8 in. thick, giving the dough a quarter turn every so often to prevent sticking. Continue flouring your surface and tools as necessary.
Things to Know Before Cutting & Baking Your Cookies
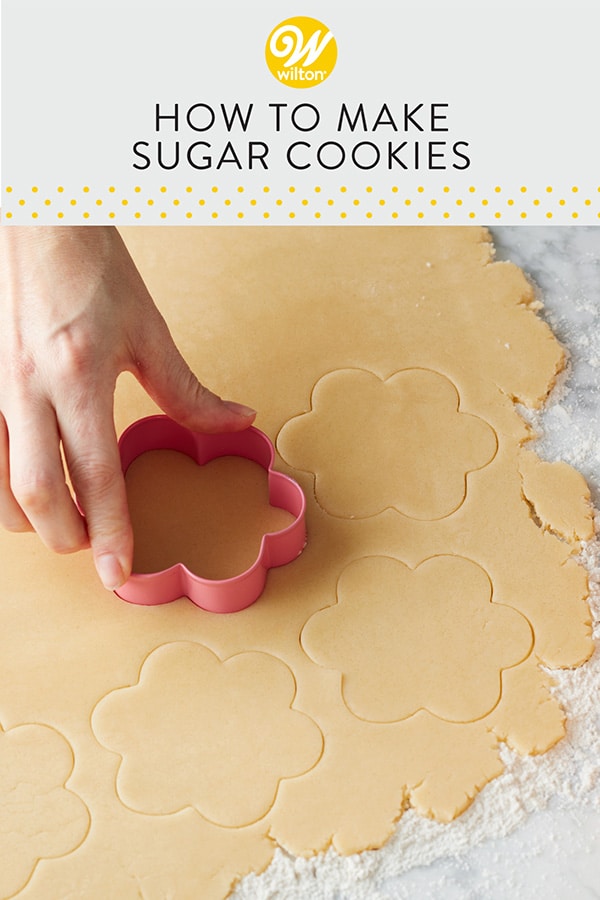
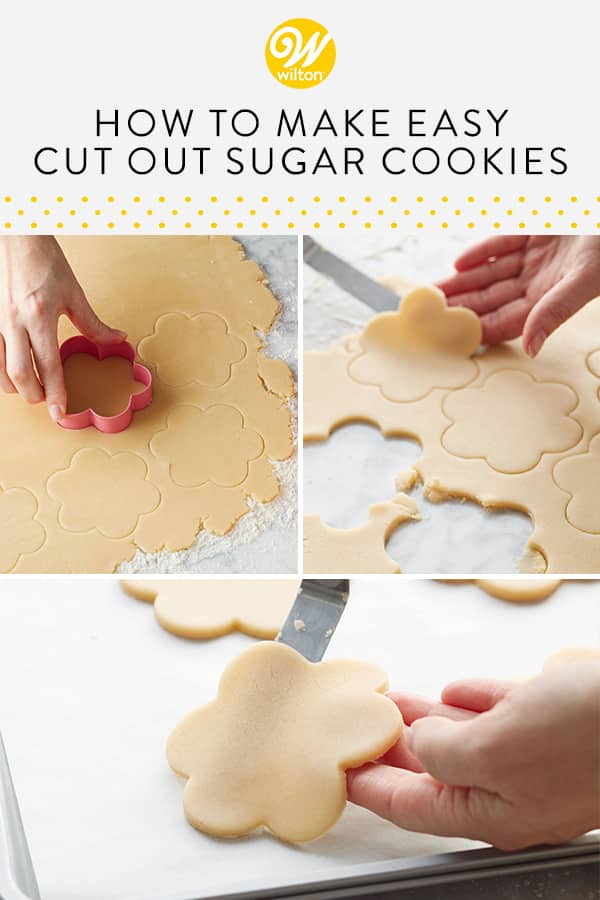
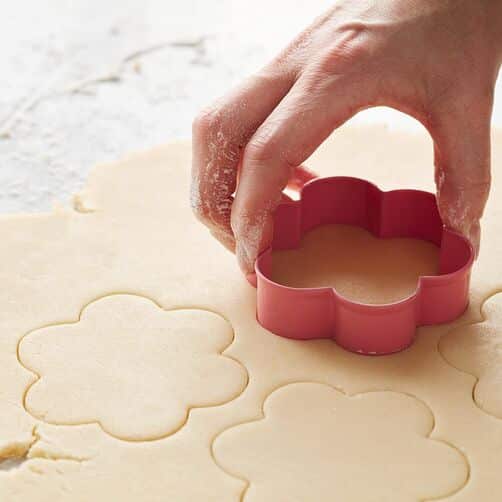
Once your dough is about 1/8 in. thick, you’re ready to start cutting. We suggest dipping your cutter in flour between almost every cut. This will not only prevent the dough from sticking to your cutter, but the flour on the edges of the cookie will help seal it, which will help your cookies keep their shape in the oven.
To easily transport your cookies to the baking sheet, start by removing all the dough scraps from around your cookie. This will make it much easier to remove the cookies from your work surface. Using a cookie spatula (we like the Really Big Spatula for this job!), simply lift your cookies from the work surface and transfer them to a parchment paper-lined baking sheet, spacing them about 1 to 1½ in. apart.
If one of your cookies tears during transport, no biggie. Throw it back in the bowl and re-roll it with the scraps!
Bake your cookies in a 350 degree oven for about 8 to 11 minutes, or just until the edges are light golden brown. As your first batch bakes, you can re-roll the scraps and start preparing the second pan to go into the oven. Keep in mind that the more you re-work the dough, the tougher it will get – so try to only re-roll scraps once.
Repeat with the second ball of dough.

How to Make Our Favorite Cut Out Sugar Cookie Recipe
Equipment
- Parchment Paper (optional)
Ingredients
- 1 cup Butter 2 Sticks, Softened
- 1 cup Granulated Sugar
- 1 Egg
- 2 teaspoons Vanilla Extract
- ½ teaspoon Almond Extract
- 3 ¼ cups All-Purpose Flour
- 1 teaspoon Baking Powder
- ½ teaspoon Salt
- Royal Icing Optional
- Colored Sugar Sprinkles Optional
Instructions
- Preheat oven to 350 degrees F.
- In a large bowl, cream the butter and sugar with an electric stand mixer or hand mixer until light and fluffy. Beat in the egg, and vanilla and almond extracts.
- Mix together flour, baking powder, and salt. Add dry ingredients to butter mixture 1 cup at a time, mixing after each addition. Once the dough mixes into a ball, you’re done mixing. Test that the dough is sticky and holds a shape but doesn’t stick to your fingers. Do not chill dough.
- Divide the dough into 2 balls, then form them into 2 inch thick rectangles discs. This will keep the dough from falling apart while rolling, and the rectangular shape will help you cut more cookies out of each rolling.
- On a floured surface, roll each ball into a circle approximately 12 inches in diameter and 1/8 inch thick.
- Dip the cookie cutter in flour before each use and cut out shapes.
- Bake the cookies on an ungreased baking sheet(s) with parchment paper (optional). Bake for 8-11 minutes or until cookies are lightly browned. Move the cookies to a cooling rack to cool completely.
Video
Notes
- This recipe makes about 3 dozen 3-inch cookies
- Bake time will vary depending on the size of your cookies. 3-inch cookies will take about 8-11 minutes. Smaller cookies will need less time.
- To add flavor: The use of two extracts in this recipe really enhances the flavor. To customize your cookies, substitute your favorite flavor for the almond and vanilla extract. Almond, lemon, and peppermint are particular favorites for cookies. Adding grated lemon or lime zest also adds rich citrus flavor.
- To add color: Icing colors are perfect for coloring cookie dough. Add a small amount of food color at a time to the dough to reach the desired shade. Use a mixer to blend the color well.
- Use real butter: Margarine and butter spreads will give very different results, so don’t substitute out real butter.
- Use room temperature ingredients: Make sure your butter is at room temperature so it can easily be combined with the sugar. Butter that’s too cold may cause you to have little bits of butter in your dough. Butter that’s too soft could cause the dough to be too soft, which could lead to your cookies spreading while baking. Learn how to perfectly soften butter here.
- Make sure to measure the flour properly: Measuring your flour incorrectly is one of the biggest cookie mistakes you can make. If you’re scooping your flour into the measuring cup directly from the bag, you could be using as much as 30% extra flour in your dough. This extra flour will make your cookies dry and tough. The proper way to measure your flour is to spoon the flour directly into a dry measuring cup and smooth off the top with a knife.
- Scrape down the bowl often: Don’t forget to scrape the bottom of the bowl, as dry ingredients can sometimes get trapped. Not scraping down the bowl can cause a dense, poorly-aerated paste to build up on the sides. Left unattended, those denser areas can streak the dough and cause it to spread unevenly as the sugar cookies bake.
- Avoid overmixing your dough: Be careful not to overmix your dough! As soon as your dough starts to clump together, you’re ready to roll.
- For evenly rolled cookies: Use a rolling pin with guide rings or use guides on either side of the dough. Lollipop sticks or dowel rods that are an eighth to a quarter inch thick are excellent guides. Set two of the same size style rods or sticks on the counter on either side of cookie dough and roll over them. Sprinkle a little flour on the surface and on top of the dough, but be careful because too much flour can make the cookies tougher.
- Removing rolled dough from the countertop: To remove rolled dough from the countertop, slide an offset spatula underneath the dough to loosen any sticky patches and prevent tearing.
- Re-roll the dough only once: The more times you re-roll the dough, the gluten will get tougher, leading to tougher cookies.
- Dip cookie cutters in flour: Dip cookie cutters in flour between almost every cut. This will prevent the dough from sticking to your cutter. The flour on the edges of the cookie will also help seal it, which will help your cookies keep their shape in the oven.
- For a softer cookie: For a softer cookie, underbake slightly and allow the cookies to finish on the hot pan.
- To store dough for later use: Form the dough into a ball, then wrap tightly in plastic wrap. Place in an airtight container and refrigerate for up to 1 week or freeze for 2 to 3 months. Let thaw completely in the fridge overnight before using. Bring to room temperature for about an hour, then you can roll and cut.
- To freeze baked sugar cookies: Layer undecorated baked cookies in an airtight container or freezer bag with parchment paper or wax paper in between the layers of cookies. Freeze for 3 to 4 months.

How to Decorate Sugar Cookies
Now comes the fun part – decorating! The most important step here is to make sure your cookies are completely cool before icing them, otherwise the heat from the cookie may melt the icing.
How to Make Sugar Cookie Icing
Traditionally roll-out sugar cookies are decorated using royal icing, but you can also use buttercream frosting or even fondant to add cute decorations to your treats.
Royal Icing is made using Meringue Powder, powdered sugar and water. It is great for outlining and flooding your cookies and it dries hard, so your cookies won’t get damaged during transport or storage.
Buttercream frosting is also a tasty option, especially for kids! It’s easy to color, pipe and top with sprinkles and other decorations. When storing cookies topped with buttercream, lay them flat in a single layer so you don’t smudge your designs.
For more tips and tricks on how to work with royal icing, check out How to Decorate Cookies Like a Pro.
Common Substitutions for Homemade Sugar Cookies
Have you ever wondered how to make sugar cookies from scratch only to discover you’re missing a few ingredients? We’ve all been there!
No need to scrap that recipe! In most cases, there’s a substitute you can use for everything from baking powder to eggs. While these swaps may change the taste, texture and appearance of your food, there’s no denying they can help save the day if you’re short on a necessary ingredient.
From brown sugar to baking powder, eggs to butter, our Common Substitutions for Baking and Cooking article will help you satisfy your cookie craving no matter what is (or isn’t!) in your pantry!

How Long do Sugar Cookies Last?
If your cookies are baked and decorated, they’ll last at room temperature for about a week. Store them in an airtight container to prevent moisture from ruining your decorations.
Can You Freeze Sugar Cookies?
Absolutely, so long as they’re not decorated. You can bake and cool your cookies ahead of time, then store them in the freezer until you’re ready to decorate.
For best results, layer undecorated baked cookies in an airtight container or freezer bag with parchment paper or waxed paper in between the layers. Stored this way, your cookies can remain in the freezer for up to 4 months.
When you’re ready to decorate, let your cookies come to room temperature before icing with buttercream or royal icing.
Can You Freeze Sugar Cookie Dough?
Yes, you can freeze cookie dough. Simply form the dough into a ball, then wrap it tightly in plastic wrap. Place it in an airtight container and freeze for up to 3 months.
When you’re ready to roll and bake your dough, let it thaw completely in the fridge overnight. Bring it to room temperature, then roll, cut and bake.
How Long Does Sugar Cookie Dough Last in the Fridge?
If you’ll be using your dough within the week, you can store it in the fridge instead of the freezer. Form the dough into a ball, then wrap it with plastic wrap. Place it in an airtight container and refrigerate for up to 1 week.
Can You Freeze Decorated Sugar Cookies?
We don’t suggest freezing decorated sugar cookies. If your cookies are topped with royal icing, the moisture from the freezer could cause your icing to weep or melt, ruining your hard work!
If your cookies are decorated, we suggest storing them in an airtight container at room temperature. They should stay fresh for about a week.

Looking for a festive baking project, but want to bake something more than a simple batch of cookies? Take a look through our list of easy Christmas cake ideas to get your mind in a merry mood. We highly recommend it 😉
What is your favorite go-to cookie baking tip? Let us know in the comments below and be sure to tag us on Instagram @wiltoncakes so we can see your amazing cookie and baking projects!


