
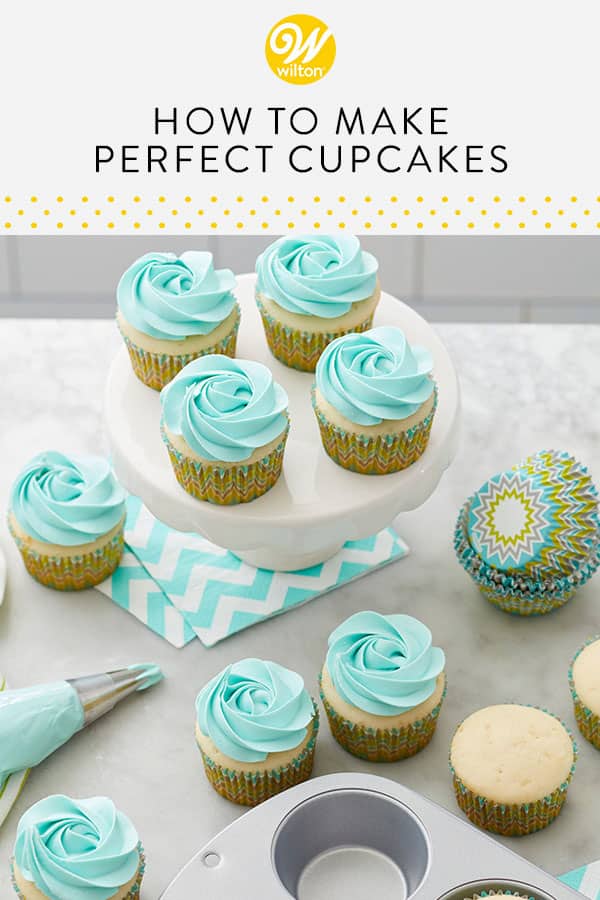
Easy to bake, transport and eat, cupcakes are the ideal treat for any celebration. Make 24 perfect cupcakes with better ingredients and proper measurements by following our tried and true cupcake baking tips.

When it comes to baking cupcakes, everything from the quality of your ingredients to the mixing of the batter comes into play. As lovers of all things cupcakes, we’ve gathered a few of our tried and true cupcake tips to help you make perfect cupcakes every time!
Baking by Cupcake Size
First and foremost, it’s crucial that you have the right ingredients, measurements and baking times to bake cupcakes. Follow this chart to make the best cupcakes, regardless of their size:
| Pan Size | Batter Amt. | Baking Temp | Baking Time | Yield – 1 mix |
Standard Muffin Pan |
1/4 – 1/3 cup | 350°F | 18-20 minutes | About 2 dozen |
Mini Muffin Pan |
1 heaping tablespoon | 350°F | 8-10 minutes | About 5 dozen |
Jumbo Muffin Pan |
1/2 – 2/3 cup | 350°F | 20-22 minutes | About 1 dozen |
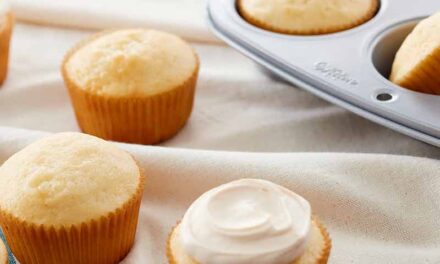
How to Bake Standard-Sized Cupcakes
The batter of one box mix or a standard cake recipe will come out to about 2 dozen cupcakes. Fill each cavity of your muffin pan about two-thirds of the way full, with about 1/4-1/3 cup of batter in each cavity. An ice cream scoop can be used to ensure equal distribution of batter in all the cavities. Standard-sized cupcakes should bake in the center of the oven for 18 to 20 minutes at 350° F.
How to Bake Mini Cupcakes
One box mix or a standard cake recipe will make enough batter for around 5 dozen mini cupcakes. Fill the cavities of your mini muffin pan with one heaping tablespoon each. A small cookie scoop is a convenient way to distribute an even amount of batter into each cavity. Bake your cupcakes for 8 to 10 minutes at 350° F.
How to Bake Jumbo Cupcakes
Around 1 dozen jumbo cupcakes can be created from one box mix or a standard cake recipe. Fill each jumbo muffin pan cavity to be about two-thirds full, with 1/2 – 2/3 cup of batter in each cavity. Make sure to distribute an equal amount of batter into each cavity to ensure even baking. Bake your cupcakes for 20 to 22 minutes at 350° F.
Step 1: Preparing the Batter
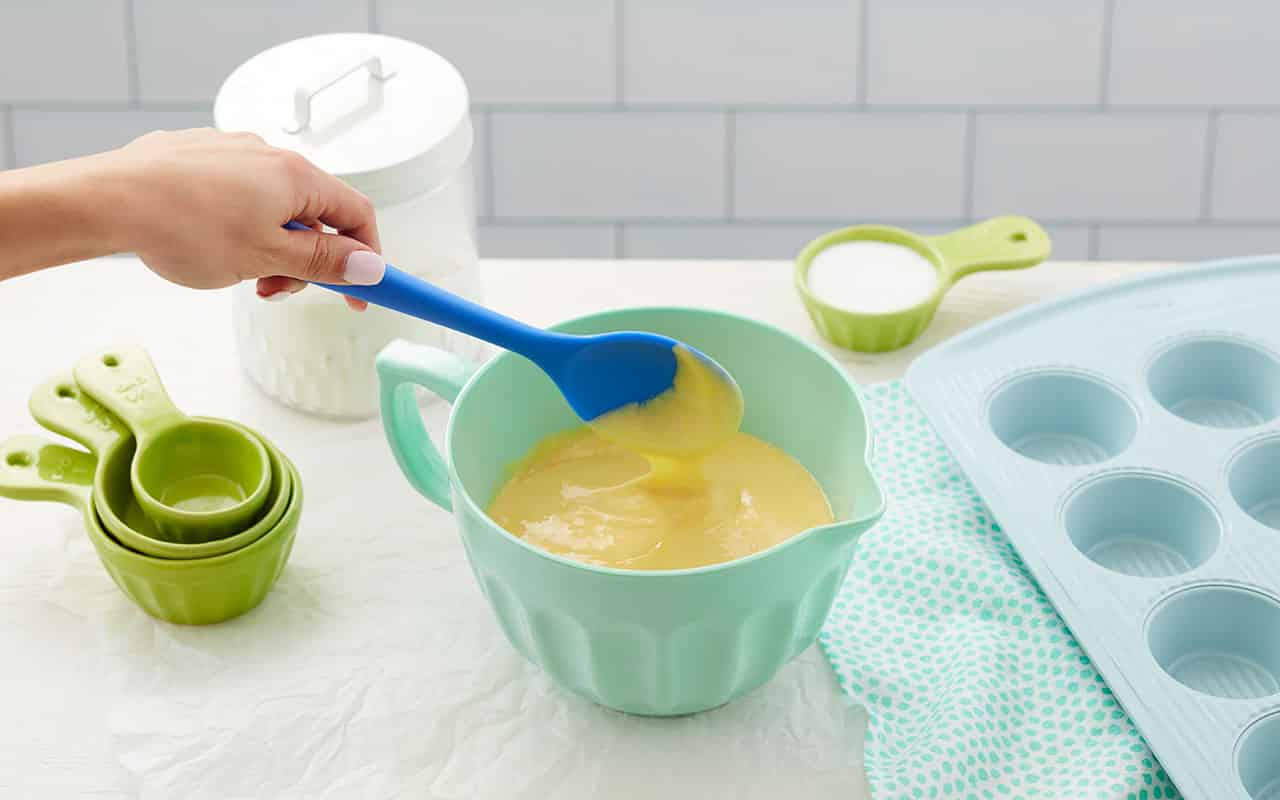
Most cake recipes or box mixes will work for cupcakes – you may just have to adjust the baking time (most cupcakes will be done in 15-20 minutes).
Use High-Quality Ingredients
The quality of your ingredients can make a big difference when making cupcakes from scratch, especially when the recipe calls for vanilla or cocoa. Splurge on pure vanilla extract, rather than settling for imitation vanilla, and use the highest quality cocoa you can find. Also, using large-grade eggs will produce a more moist cupcake.
Use Room Temperature Ingredients
Cold ingredients do not mix well with room temperature ingredients, so take the time to bring ingredients to room temperature for lighter, fluffier cupcakes.
This is especially important if your recipe calls for butter. The colder the butter is, the more time it takes to break it down to a creamy consistency, which means you run the risk of overmixing the batter. Check out our post on How to Soften Butter for three quick and easy ways to speed up the process.
Don’t Overmix the Batter
No matter what you’re baking, overmixing the batter can lead to overdeveloped gluten, which makes your cake dense and heavy. Undermixing can be just as bad, causing your cake to be flaky and crumbly.
To ensure proper mixing, set your stand or hand mixer to the lowest setting, and only mix until the wet and dry ingredients are combined. You can always fold in the remaining ingredients by hand.
Step 2: Preparing the Cupcake Pan
Cupcakes are traditionally baked in baking cups to make them easier to get out of the pan, but you can also bake cupcakes without a liner.
Baking with Baking Cups
While baking cups add fun color and style to your cupcakes, they also allow you to skip the step of greasing your pan, as well as make it much easier to remove your treats from the pan after baking.
Before filling, make sure all the baking cups are level in the pan. When using baking cups, there’s no need to spray the pan or the cups with a non-stick vegetable pan spray – they are pleated to prevent sticking.
Baking without Baking Cups
If you choose to forgo the baking cups, we suggest baking your cupcakes in a non-stick aluminum muffin pan. Simply prepare your pan with Wilton Bake Easy! non-stick spray, Wilton Cake Release pan coating or your favorite non-stick vegetable pan spray. To account for the extra room that would be taken up by the cupcake liners, you can add slightly more batter to each cavity, no more than 3/4 full.
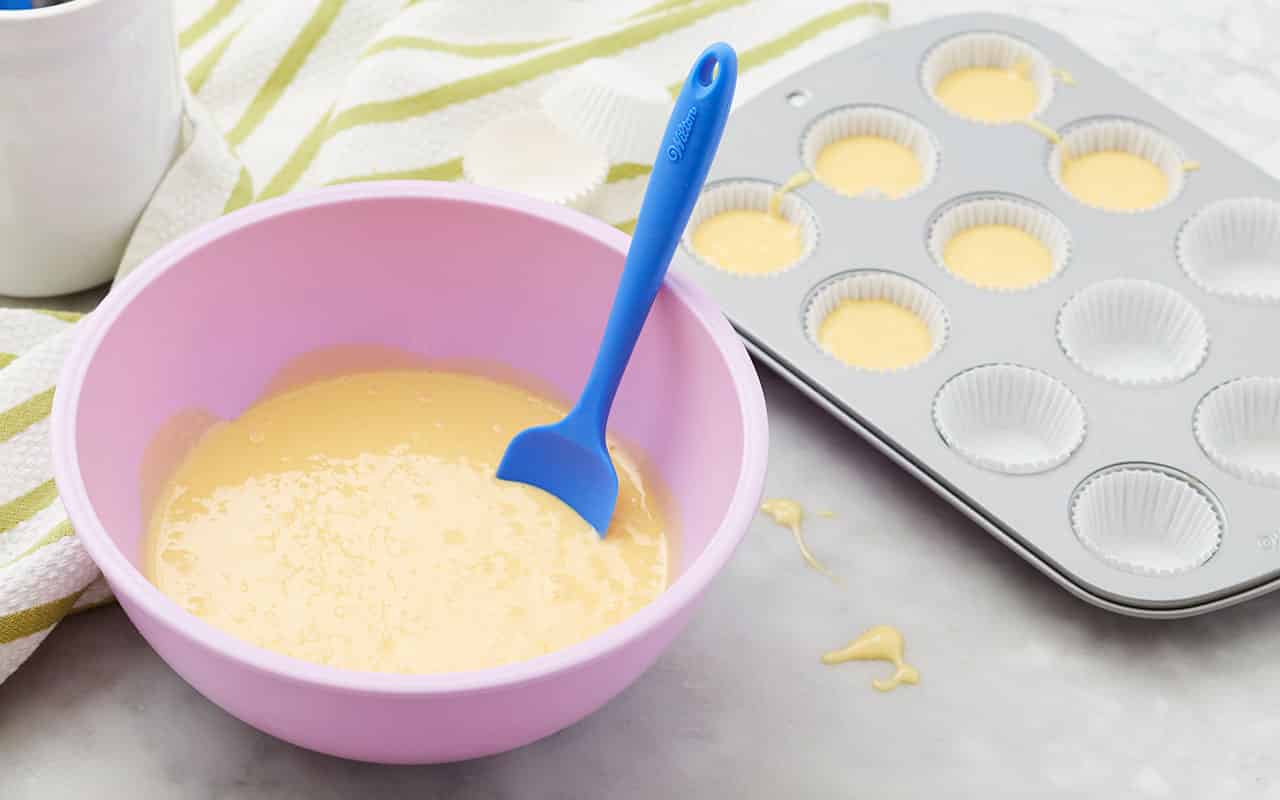
Step 3: Filling the Cavities
It’s important to use the right amount of batter in each cupcake cavity. This helps prevent over-baking and under-baking and ensures batches are consistent.
| Pan Size | Batter Amount Per Cavity |
Standard Muffin Pan |
1/4 – 1/3 cup |
Mini Muffin Pan |
1 heaping tablespoon |
Jumbo Muffin Pan |
1/2 – 2/3 cup |
For a standard pan, fill the cupcake pan cavities about two-thirds full (about 4 tablespoons), to leave enough space for the batter to expand. Mini cupcakes require less batter, about 1 heaping tablespoon for each cavity. If you’re opting for jumbo cupcakes, fill each cavity with 1/2 – 2/3 cups batter.
The Versa-Tools Measure and Mix Spoon is perfect for filling pan cavities. The measuring guide inside the spoon makes it easy to pour the same amount of batter every time. A medium ice cream scoop also works well to minimize both variation in the batter amounts and drips on the pan. Use a small cookie scoop for mini cupcakes.
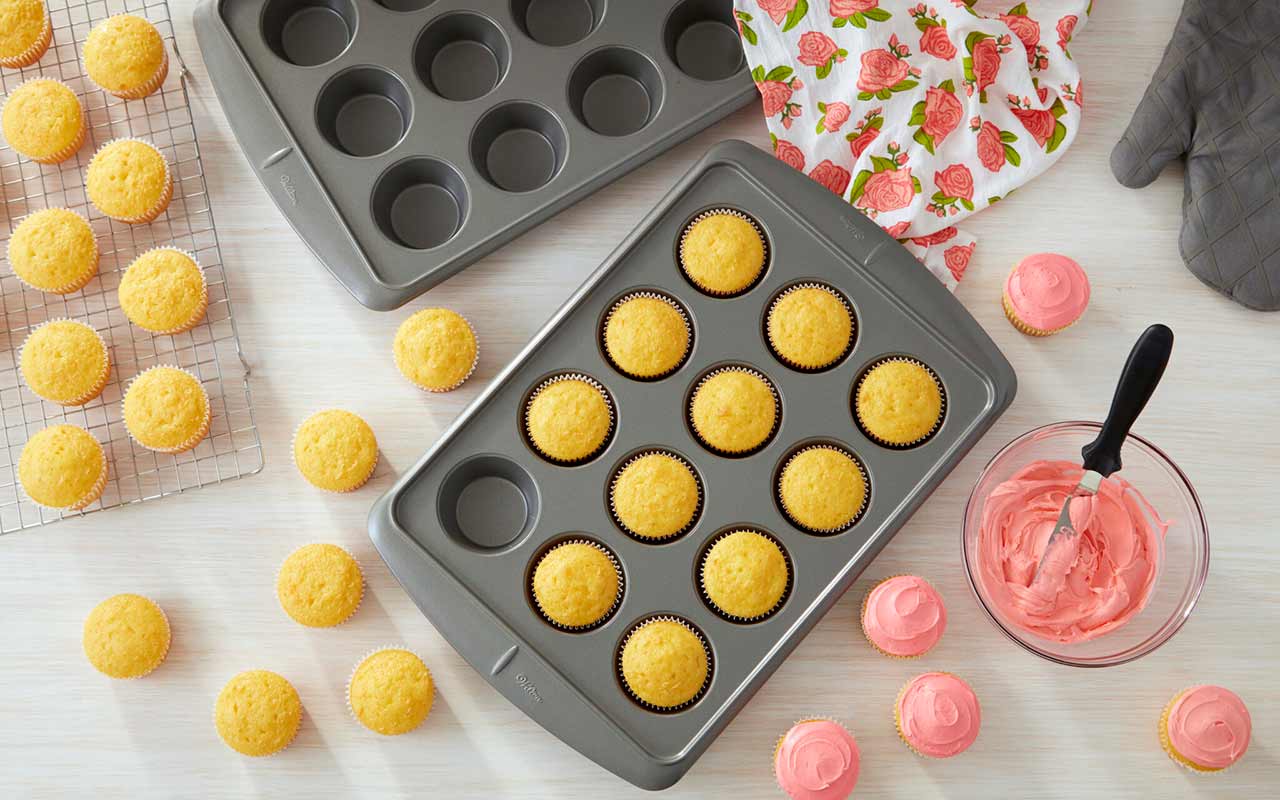
Step 4: Baking the Cupcakes
Bake at 350° F for the Correct Amount of Time
For best results, preheat your oven according to your cake recipe – and don’t start baking your cupcakes until your oven is ready. Since your oven works super hard to preheat, putting your cupcakes in an oven that’s not fully pre-heated could result in burnt cupcakes.
Bake cupcakes at 350° F if your recipe doesn’t include a preheat temperature. Standard cupcakes will need to bake for between 18 and 20 minutes. Bake time depends on the size of your cupcakes, so mini cupcakes will need to bake for only 8 to 10 minutes and jumbo cupcakes will need 20 to 22 minutes.
| Pan Size | Baking Temp | Baking Time |
Standard Muffin Pan |
350°F | 18-20 minutes |
Mini Muffin Pan |
350°F | 8-10 minutes |
Jumbo Muffin Pan |
350°F | 20-22 minutes |
Don’t Open the Oven
While it can be tempting, resist the urge to peek in on your cupcakes’ progress. Opening or closing the oven door before the baking time is complete can cause fragile air bubbles in the batter to burst, preventing the cupcakes from rising. Even if you are gentle with the oven door, a rush of cold air can affect the cupcakes while they are trying to set up, resulting in dense, deflated cupcakes.
How to Test if Your Cupcakes are Done
It’s important to check your cupcakes for doneness at the minimum baking time to avoid over cooking. Test your cupcakes while they’re still in the oven by inserting a cake tester or wooden toothpick into the center of a few cupcakes. If it comes out clean (no wet batter), your cupcakes are done.
Let Your Cupcakes Cool
Cool cupcakes in the pan on a cooling grid for about 5 minutes before removing. If removed from the pan too soon, they may break or crack. On the other hand, if left in the hot pan for too long, the cupcakes may continue to overcook, which can result in them drying out. Use a thin metal spatula or knife to help lift the cupcakes out of the pan and cool them completely on a cooling grid before icing
Step 5: Add a Filling
For a creamy, smooth filling, use a decorating bag fitted with Bismarck Filling Tip 230. Insert the tip into the cupcake and lightly squeeze as you pull the tip out. For a chunky filling, like a fruit pie filling, you can use a paring knife to carve out a small hole in the center, then spoon in the filling.
Don’t worry about the small hole left on top of the cupcake by either method, that will be covered up with your icing. Check out the How to Fill a Cupcake video to see how easy it is!
Step 6: Icing the Cupcakes
Once the cupcakes have cooled, you’re ready for the best part – decorating! Try to ice your cupcakes as soon as you can (after they’ve completely cooled, of course). Icing will act as a seal to help the cupcakes retain moisture. Try to cover as much of the exposed top as possible with icing, especially if the cupcakes need to sit out uncovered at an event for a long period of time.
Spreading Icing with a Spatula
For a quick and easy decoration, use an angled spatula or knife to spread icing on cupcakes. Make sure your icing is at room temperature to avoid getting crumbs in your icing. If it’s too cold, it may tear your cake.
Piping Icing with a Decorating Bag and Tip
Use a decorating bag and a large round, star or drop flower tip to pipe a classic cupcake swirl. Watch this video to learn how to make the classic buttercream swirl:
You can also have fun decorating your cupcakes however you’d like! Mix and match piping techniques with different tips and icing colors, or top your cupcakes with sprinkles, jimmies, icing decorations or candies for added color and texture.
How to Store Cupcakes
Cupcakes are at their best within the first 2 days of baking. While they can last up to 5 days at room temperature in an airtight container, they will start to dry out after 3-4 days.
Store cooled, decorated cupcakes in a tall airtight container, making sure the lid doesn’t touch the icing. If you are experiencing hot and humid weather that is causing the icing to melt, you can store them in the refrigerator.
Freezing Baked Cupcakes
Un-iced cupcakes can be frozen for up to 3 months. Be sure the cupcakes are completely cooled to room temperature before freezing to avoid condensation forming, which can result in soggy cupcakes when it’s time to defrost them.
While simply placing the cupcakes in an airtight container is enough, individually wrapping each cupcake before placing them in the airtight container will better help preserve the freshness and taste. Wrap them first in a layer of plastic wrap, then a layer of aluminum foil, which helps prevent freezer burn. After removing them from the freezer, let them defrost in the refrigerator uncovered to prevent the tops from getting sticky.
Have more cupcake wisdom to share? Let us know in the comments below, or post a picture of your treats on Instagram and tag us @wiltoncakes so we can see them!

