Tell your Valentine how you really feel with these super cute conversation heart cookies. Made using a homemade cookie dough and royal icing, these heart-shaped Valentine’s Day cookies are great for decorators (and cookie lovers) of all ages!
Send cute messages to your Valentine with these adorable Valentine’s Day cookies. Great for bakers and decorators of all skill levels, these simple heart-shaped cookies can be customized with any message you’d like! Here are some of our favorite ideas: “Cutie Pie”, “Kiss Me”, “Babe”, “U R Rad”, and “XOXO”, just to name a few!
This Valentine sugar cookie recipe starts off with a simple roll-out cookie dough. After your cookies are baked and cooled, you can decorate them with royal icing and add a fun Valentine’s Day message.
Royal icing also dries hard, so these cookies can easily be packaged and gifted to all your loved ones! Keep in mind that the cookies will need plenty of time to dry, so be sure to bake and decorate these cookies at least a couple days in advance.

Heart-Shaped Valentine’s Day Sugar Cookies
Equipment
- Ruler
- Mixing Bowls
- Toothpicks (for adding food coloring)
- Scissors
Ingredients
Instructions
Step 1: Bake the Cookies
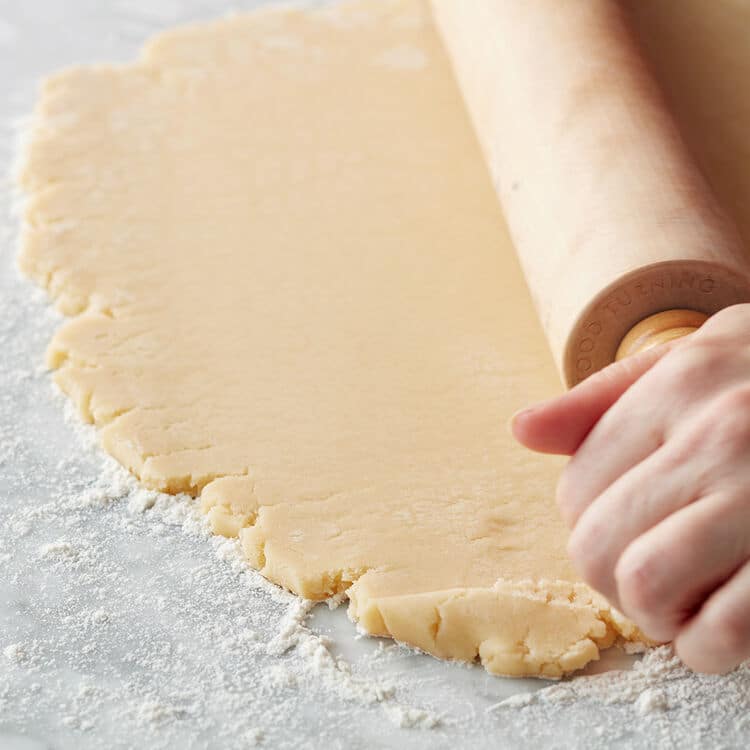
- Prepare the roll-out cookie dough following the recipe instructions. Using a rolling pin, roll out the dough to about 1/8 in. thickness.
- Use the heart-shaped cutter to cut out your cookies. Any heart cutter will work here; however, we suggest using one about 3 in. wide so you have plenty of room for writing your message!
- Transfer your cut cookies to your prepared baking sheet. Bake and cool as directed.
Step 2: Make the Royal Icing
- Make one batch of royal icing following the recipe instructions.
Divide and tint the royal icing as follows: - 3/4 cup blue (use Sky Blue color)
- 3/4 cup rose (use Rose color)
- 3/4 cup magenta (combine Violet and Rose colors)
- 3/4 cup purple (combine Red-Red and Violet colors)
- 3/4 cup violet (use Violet color)
- Set aside 1/4 cup of full-strength icing of each color. We’ll use this for the piping.
- Thin the remaining icing to flooding consistency.Check out our post on How to Make Royal Icing for tips on how to achieve the perfect consistency!
Step 3: Flood Cookies
- Prepare 5 decorating bags, separately, with the thinned blue, rose, magenta, purple and violet icings. Cut a small tip, about 1/4 in., off each bag.
- Outline and flood in the cookies, alternating colors as desired. If you have bubbles in your icing, you can use a toothpick to pop them.
- Once all your cookies have been flooded, let them dry overnight – at least 8 to 10 hours.
Step 4: Pipe Your Messages
- Prepare 5 decorating bags with tip 2. Fill each individually with the full-strength blue, rose, magenta, purple and violet icings.
Pipe messages on your cookies, alternating colors as desired. You can customize your messages to be whatever you’d like! Here are a few ideas we used: - You + Me
- Be Mine
- Sweet
- Hug Me
- Text Me
- Cutie Pie
- Kiss Me
- #Love
- Besties
- U R Rad
- XOXO
- Babe
- Scared to pipe lettering? We feel ya! You can use edible food markers to write your messages first, then pipe over the letters with royal icing.
- Once piped, let your cookies dry at room temperature, about 1 to 2 hours. Once dried, cookies can be packaged in boxes or treat bags and gifted to friends and loved ones!
Notes
You can store your full-strength royal icing in an airtight container at room temperature for up to 2 weeks. Before using, beat in a mixing bowl at low speed until you reach the proper consistency. If your icing thinned out a bit, add powdered sugar, one teaspoon at a time, until you reach the desired consistency.

Check out more tips, tricks & ideas!

The Best Cut-Out Sugar Cookies
READ MORE

33 Valentine’s Day Cookies
READ MORE


