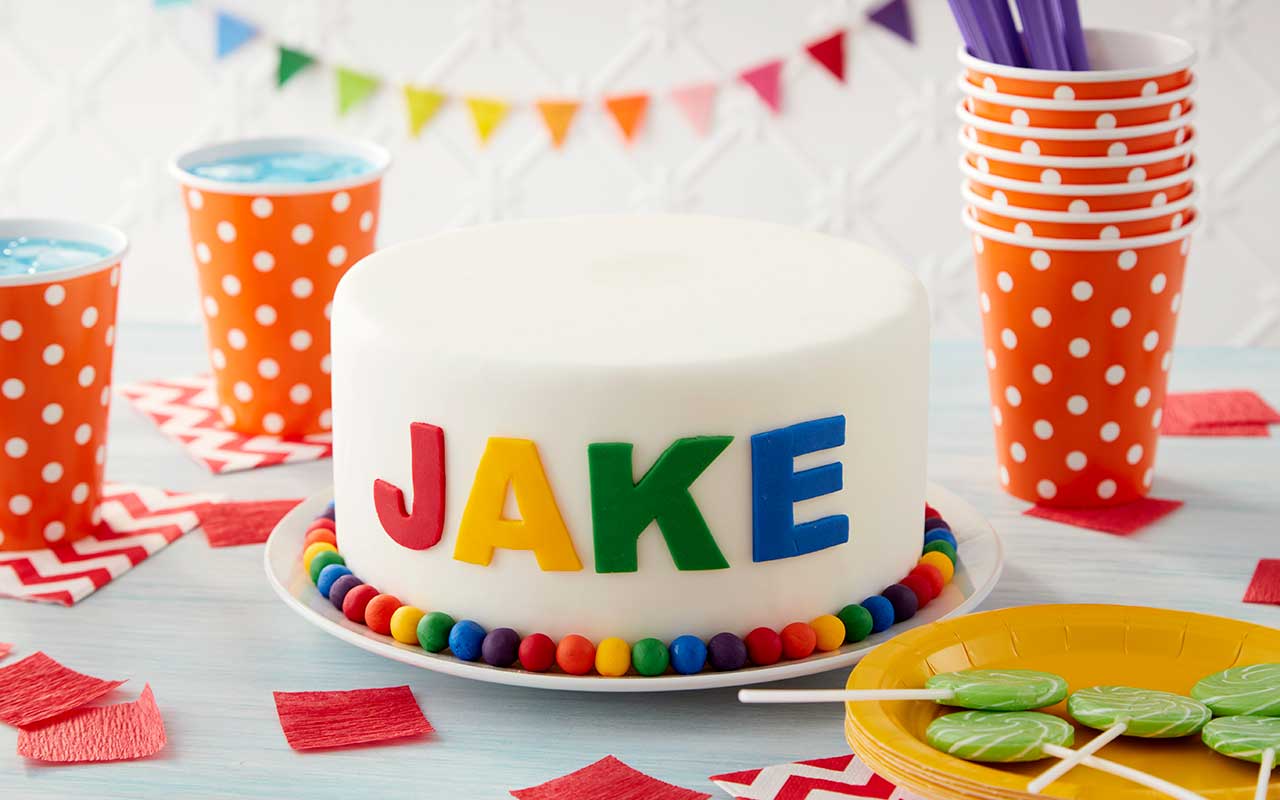
If you’ve always wondered how to cover a cake with fondant, you’ve come to the right place! Perfect for giving you that nice, clean finish on your cake, fondant is an edible dough that can be used to cover cakes and make decorations.
In this article, we’ll cover prepping your cake, smoothing your fondant and everything in between. We’ll prepare you for any troubleshooting issues and tell you how to get the best results with ease.
Beginner cake decorators, never fear! Fondant can be fun and we’re here to show you how!
1. Bake the Cake
For starters, make sure your cake is leveled and filled evenly. If you need a refresher, check out our tutorials on how to level and torte a cake and how to fill and layer a cake.
The type of cake you make is also an important factor to keep in mind. Light texture cakes, like angel food or chiffon cakes, will have a hard time holding up to the weight of fondant. Cakes with heavy mix-ins, like carrot cake, may also create an uneven surface and can show through your fondant.
For best results, we suggest using a standard white, vanilla, yellow or chocolate cake recipe or, for even more stability, a pound cake recipe. Assemble the layers on a board that’s the same size as your cake.
2. Prepare the Cake
Before you can cover your cake with fondant, you need to crumb coat your cake. This thin layer of frosting traps any cake crumbs and acts as an adhesive so your fondant doesn’t fall off or move around.
Don’t use too much buttercream when crumb coating, just enough so the sides and top are smooth with little to no spatula marks.
3. Prepare the Fondant
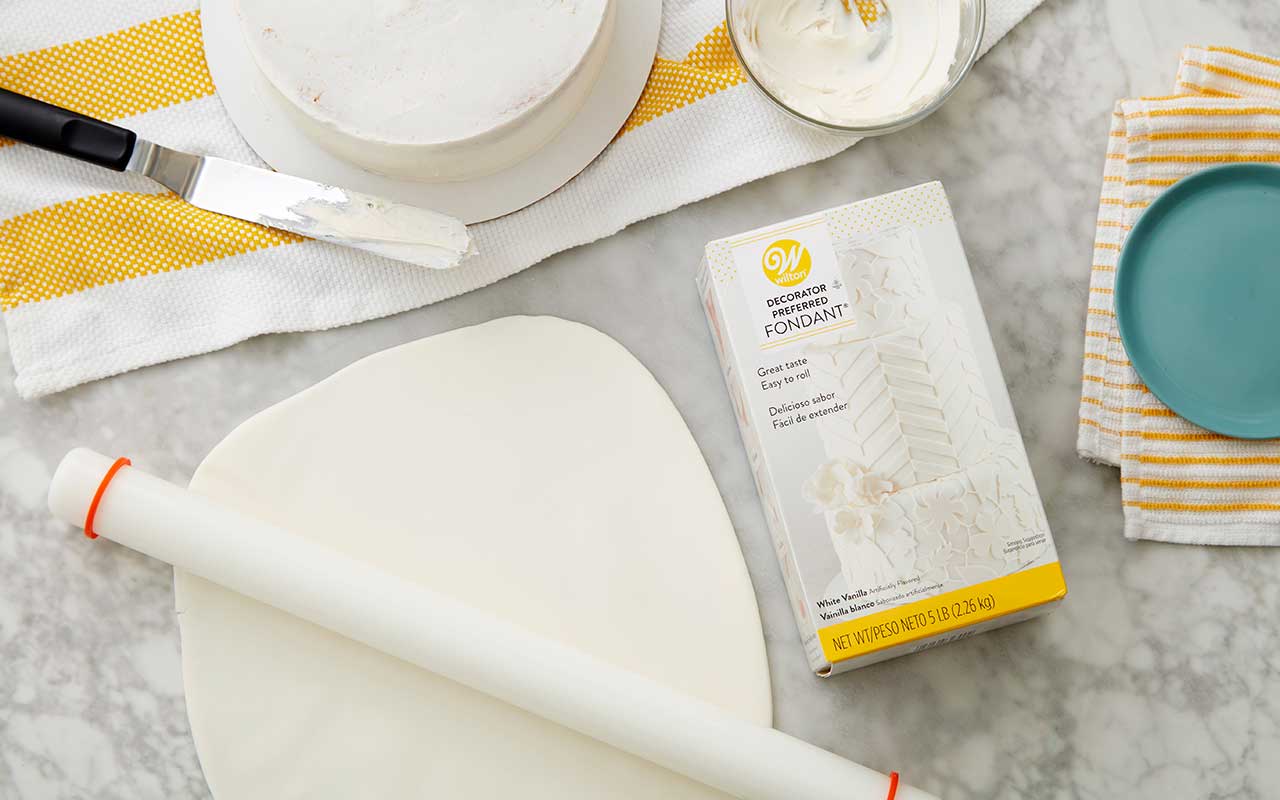
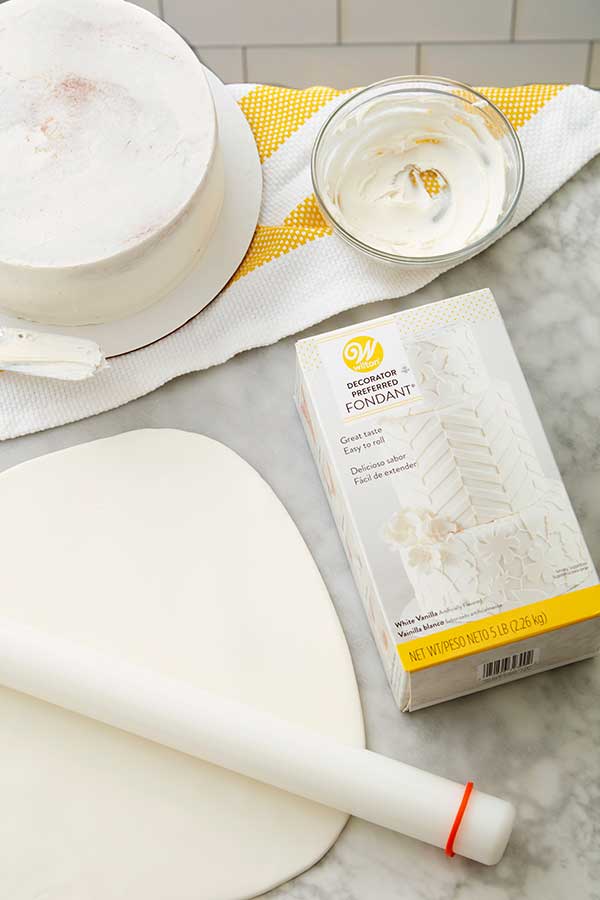
You can use store-bought or homemade fondant to cover your cake. Our Decorator Preferred fondant comes in a wide variety of colors, flavors and sizes to best suit your needs; however, you can certainly make your own using our easy Rolled Marshmallow Fondant recipe (just keep in mind that homemade fondant won’t have as much stretch and elasticity as store-bought fondant).
Before kneading, rub your hands with a little vegetable shortening to prevent sticking. Knead the fondant until it’s pliable. Add and work in food coloring at this point if you’re planning to tint your fondant.
For best results, we suggest using fresh fondant to cover your cake. Old fondant can dry out and crack, especially along the edges of your cake. If this does happen, you can rub a little vegetable shortening along the dry area until the crack disappears.

4. Measure the Fondant
Finding out how much fondant you need to cover your cake does require a little math…but don’t worry! We’ll walk you through it step-by-step!
First, measure the diameter of the cake. To do this, place the ruler on the center of the cake and measure from end to end.
Secondly, measure the height of the cake.
Now comes the fun part! Plug those numbers into this formula:
DIAMETER + HEIGHT (x 2) = Diameter of fondant
For example, if you’re working with an 8 inch round cake that’s 4 inches tall, your formula would look like this:
8 inches + 4 inches (x2) = 16 inches
You can also reference the fondant amounts to cover cakes chart to remove the guesswork!

5. How to Roll Your Fondant Evenly
To get a nice, even roll on your fondant, make sure you start with a well-prepared surface. To prevent sticking, dust the surface with cornstarch (for high-humidity climates) or confectioners’ sugar (for drier climates).
It’s also important that your surface is clean, as fondant will pick up any surface texture, crumbs, hair or dirt (it may sound silly, but make sure you’re wearing clothes that don’t shed hairs or fibers either, as those can also work their way into your fondant!).
Start with the fondant in the shape of the cake you’re covering. For example, start with a rounded shape of fondant to cover a round cake. Using a plastic fondant roller (we have one for smaller projects and one for larger projects), roll out your fondant to the desired size. While you can certainly use a wooden rolling pin, it will probably leave some texture in your fondant so you won’t get that nice, smooth finish that these plastic rollers offer.
For accurate measuring, we also suggest using a measuring mat. Not only is it a great non-stick surface for rolling out your fondant, but it has handy measurements for round and square cakes.
The perfect thickness for covering a cake is about 1/8 inches in size. To get the right thickness, you can use fondant guide rings, which slide on to the end of the fondant rollers, or a ruler. Always roll from the center outwards, turning and lifting the fondant as you go to keep the shape consistent.
If your fondant loses its shape as you roll, just use your hands to reshape it. Continue rolling and turning your fondant until all the edges line up with the markings on the measuring mat (or the correct diameter is reached).
Now here’s a common beginner’s mistake – even though you may only need 16 inches of fondant to cover your cake, you might be tempted to roll the fondant to 18 inches for insurance. There’s no need to do that, as your fondant will naturally stretch as you drape it. In fact, excess rolling might add weight to the edges of your fondant and cause it to tear. No good!

6. Cover the Cake
This part requires some quick movement so make sure your cake is frosted and ready to go before preparing your fondant. Fondant will dry out if left out for too long, so it will need to be placed on the cake immediately while it’s still fresh and pliable. If your crumb coat has crusted or the frosting on your cake is dry, lightly mist your cake with water before covering. You’ll need your frosting to be tacky so the fondant can stick to it.
Now comes the fun part, covering the cake! This part may seem intimidating, but the trick is letting the tools do all the work for you. Make sure your cake is close by before proceeding.
To start, place your fondant roller in the middle of your rolled out fondant.
Using both hands, fold one side of the fondant over the roller.
Pick up the fondant roller by both ends. Working from the back of the cake to the front, touch the edge of the fondant to the cake board and start draping the fondant towards you, trying to keep it as centered as possible.
Gently roll out the fondant, guiding it as it drapes over the rest of the cake.
If the fondant doesn’t fully cover the bottom edges of the cake, don’t worry! As you smooth the fondant, it will stretch to better cover the edges.
If the fondant is not centered, you should be able to gently remove the fondant and re-center it. If the cake gets damaged once the fondant is removed, simply re-frost the cake and chill it until it’s firm. Re-knead the fondant, buttercream and all, and re-roll it and try again. You got this!

7. Smooth the Fondant
OK, the hard part is done! Now it’s time to smooth the top and sides. Use a fondant smoother to smooth the top first. This will prevent the fondant from moving around as you work the sides.
To smooth the sides, pick up a section of the fondant. Gently pull and stretch the fondant away from the cake, using the edge of your hand (the pinky finger side) to smooth the sides and remove any creases. Using the edge of your hand also helps prevent fingerprints and ridges from forming.
Once the section is smooth, lightly press the fondant to the side of the cake. As you smooth the sides, move the creases to the lower edges of the cake.
As you work your way around, you may find that you have one last section where your excess fondant will converge. Loosen the fondant on either side, continue pulling and push the draping fondant to the bottom edge of your cake.
If you find the sides of your fondant are not sticking to the cake, dip the fingers of one hand in a small amount of water and rub your fingers over the inside of the fondant as you lift the sides. Gently press to the cake with your dry hand.
Use the smoother to help ensure the fondant has adhered to the top and sides of the cake. Push any air bubbles to the sides, then work down and push them out of the bottom of the cake.

Trim the bottom excess fondant with a fondant trimmer (a pizza cutter or paring knife works great, too), staying a tiny bit outside the edge of the cake. Remove the excess fondant.
Now let’s make that nice, crisp edge. Press the flat edge of the fondant smoother against the bottom of the fondant. Working section by section, smooth the fondant by moving the smoother up and down. This will push down any excess and create an outline for one final trim.
Run your knife around one more time to remove that excess fondant. For a cleaner cut, place your cake on a smaller cake pan so it’s elevated and you can get your trimmer under the overhang. Cut off the excess and you’re good to go!
Still having a few issues covering your cake with fondant? Here are a few troubleshooting tips:
- Even if you’re careful about smoothing, the last section of your fondant might still form a seam. If you need to hide it, gently rub the fondant seam with your finger. It won’t disappear completely, but it will minimize the look.
- Due to the stretching and pulling, fondant can crack or tear. To fix this, you can make a “fondant adhesive”, made by soaking a small amount of fondant in water. Use a spatula or a decorating bag to apply the adhesive to your fondant. The shine will disappear when the water evaporates.
- While rolling fondant, you might notice some air bubbles on the surface. You can easily remove these using a clean pin. Angle the pin to go in from the side of the bubble rather than the top so that the mark is less noticeable. Push the air out and smooth with your finger. It’s better to address air bubbles while rolling rather than when the cake is already covered.
And there you have it! Now on to decorating!
We want to see how you’re having fun with fondant! Post your cake to Instagram and tag us @wiltoncakes!


Where to store this after putting fondant on it?
Amazin tutorial with clear instructions. I am making a birthday cake soon and want it to be special. So I was looking for something different and this is exactly what I needed. Thanks a lot for sharing this?