
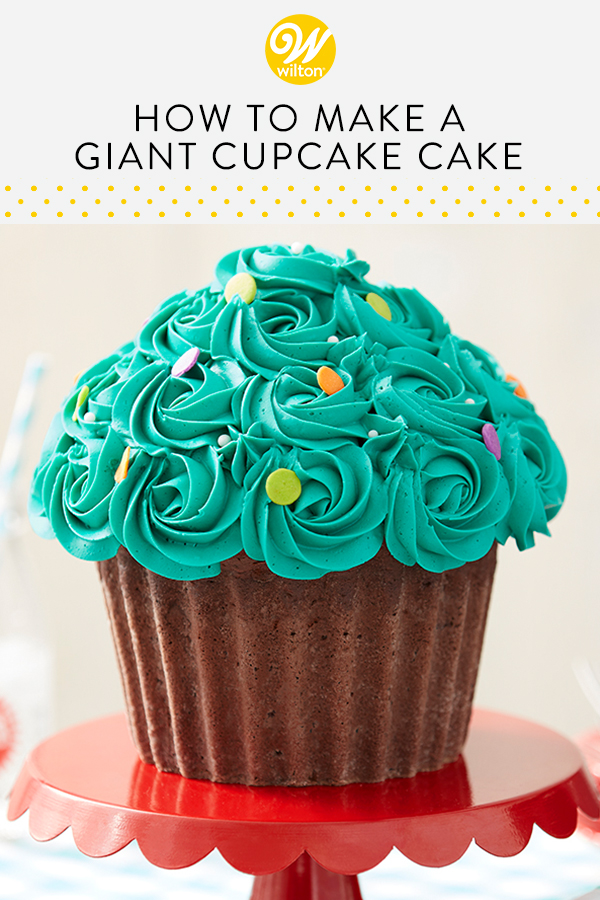
You have our giant cupcake cake pan but aren’t sure how to use it? Let us walk you through some easy steps and tips that will help you make anything from an adorable first-birthday smash cake to a quirky anniversary cake using just this one pan. Read through our instructions below (or if you’re more the visual type, watch the video at the end) and get ready for a giant success.

1. Getting Started
A little prep work will take you a long way. Make sure you pick a heavy, dense cake batter that will help your cake keep its shape and support the top part after assembly. We like to use pound cake, but if you’re in a hurry, here’s a little cake mix hack to get you there faster.
Want to add color? Consider tinting your batter or using sprinkles or confetti to liven things up. Lastly, keep some aluminum foil on standby, you might need it (more on this later).
2. Preparing and Filling the Pan
Use Wilton Cake ReleaseTM Pan Coating, Bake Easy! Non-Stick Spray, pan spray, butter or shortening and flour to prep your pan, making sure you get every nook and cranny. You’ll need 6 cups total of batter: 2½ cups for the top part of the cupcake and 3½ cups for the bottom. It might look like there’s room for more, but resist filling them to the top— you want some room left for the batter to rise.
3. Baking & Cooling
Bake at 325 °F for approximately 1 hour. Check it halfway through at 30 minutes. If the top “swirl” part of your giant cupcake seems to be baking faster than the bottom, break out your foil and an oven mitt (safety first!) and make a little tent over it with foil to slow it down. Once it’s done, let it cool in the pan for 10 minutes before you unmold it, then pop it on a cooling grid until it’s completely cooled.
4. Putting it All Together
Now that your cake is completely cooled, pop out the bottom section onto a cake board or cake platter of your choice, level it with a serrated knife and spread frosting on it so that the top sticks to it.
Here’s a tip: After you unmold the top, pop it back in the mold and level it using the edge of the pan as a guide. This will keep the edge straight. Unmold, and place it carefully on the frosting-covered bottom. Take a moment to admire your creation.
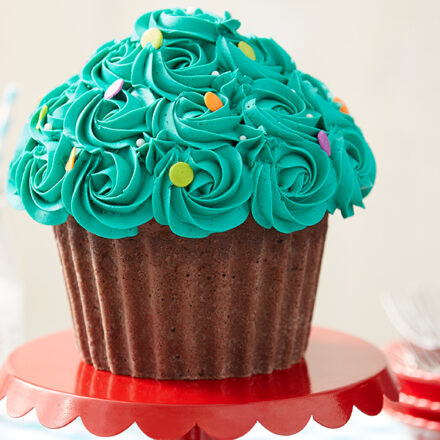
That’s it! You can leave the bottom as-is, spatula frost the top of the cake and cover with sprinkles or berries, experiment with candy for a piñata cake or get some inspiration from our Blooming Cupcake, Cool Blooms or cupcake-embellished Giant Cupcake cakes.
After you give your giant cupcake cake a try, let us know how you did by taking a photo and tagging us on Instagram @WiltonCakes with the hashtag #GiantCupcakeCake . Hope your success is as big (or bigger) than this amazing treat!
Make a Fun and Tasty Giant Cupcake Cake
Equipment
- Giant Cupcake Pan
Ingredients
- 15.25 ounces Your Favorite Dense Cake Mix
- Your Favorite Frosting
- Your Favorite Fun Toppings
Instructions
- Pick a heavy, dense cake mix that will help your cake keep its shape and support the top part after assembly.
- Use pan spray, butter or shortening and flour to prep your pan, making sure you get every nook and cranny. You’ll need 6 cups total of batter: 2½ cups for the top part of the cupcake and 3½ cups for the bottom. It might look like there’s room for more, but resist filling them to the top— you want some room left for the batter to rise.
- Bake at 325 °F for approximately 1 hour. Check it halfway through at 30 minutes. If the top “swirl” part of your giant cupcake seems to be baking faster than the bottom, break out your foil and an oven mitt (safety first!) and make a little tent over it with foil to slow it down. Once it’s done, let it cool in the pan for 10 minutes before you unmold it, then pop it on a cooling grid until it’s completely cooled.
- Now that your cake is completely cooled, pop out the bottom section onto a cake board or cake platter of your choice, level it with a serrated knife and spread frosting on it so that the top sticks to it.
- Add as many fun toppings like sprinkles or berries as you’d like and enjoy!


What is the serving size
This makes about 10 servings. Happy baking!
Is there a carrier for this cake?
We do not have a carrier specifically for this cake. We do recommend using a cake box and taping it together to accommodate the height of the cake.
How many cups of icing do you need for the top? It looks like in the photo 1M was used for the swirls.
We used about 2 cups frosting for this cupcake. You guessed right! We used tip 1M to make the cupcake swirls. Let us know how it turns out!
What size box of instant pudding do.you use for each box of cake mix?
This recipe doesn’t call for instant pudding. We recommend using a 15.25 oz. box of cake mix. Happy baking!
What size instant puddingix per box of cake mix?
This recipe doesn’t call for instant pudding. We recommend using a 15.25 oz. box of cake mix. Happy baking!