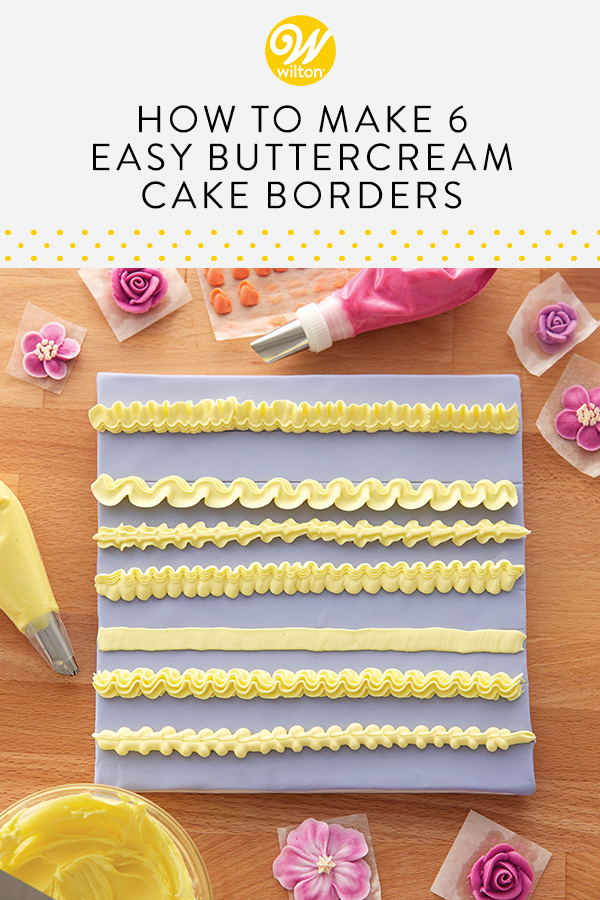
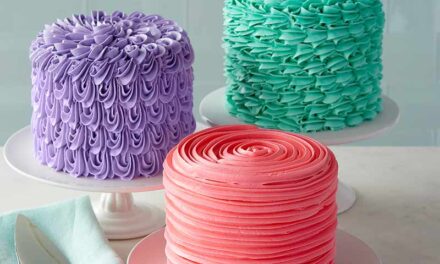
Ready to graduate from spatula frosting to learning how to pipe buttercream cake borders? We’ve got 6 decorating techniques for you to try that will give you professional-looking results, even if you’re a buttercream piping beginner.
We’ve arranged these buttercream border techniques in order of difficulty, from “not so scary” to “I’m feeling brave today.” If you feel like you need a little practice, try them out on some parchment paper or a countertop before attempting to pipe them directly on your cake.
All of these borders will work on a round, square or loaf cake—just pick a technique, grab a piping bag, the right tip and follow the shape along the top or bottom border. Need a visual? Press play and follow along using our helpful video below.
Shell Borders
A classic border for both cake tops and bottoms, piped shells are a technique that allows the natural movement of the tip to do most of the work. For the best results, try to keep consistent pressure when you pipe (more pressure will make ruffled shells, less a smoother shell) and make sure to pipe a new tail on top of the last shell’s tail.
Bead Borders
A piped bead border builds on the same basic piping techniques as a shell border, except with a round decorating tip. Work on piping consistently-sized beads and then pull and release pressure to make a small sideways tail, then pipe the next bead on top of the tail. Bead borders are perfect for when you want the ease of a shell border but with a more delicate, modern look.
Pulled Dot Borders
Got your dot technique down? Time to add a step. To make a pulled dot, pipe a large dot, then use a spatula tip to indent the center and drag downward. The dots can be piped along the top, bottom or middle of your cake, or practice piping the next dot on the pulled tail of the previous dot for a more playful take on a bead border.
Zigzag Borders
The trick to this technique is to keep even pressure on your bag so your zigzag is the same width the whole way through. Unlike most cake techniques, it’s not just your hand that moves here so much as your entire forearm, so it’s a good exercise in the control needed as you develop your skills. Zigzags add fun texture and a playful vibe to smash cakes, ice cream and birthday cakes.
Cupcake Swirl Borders
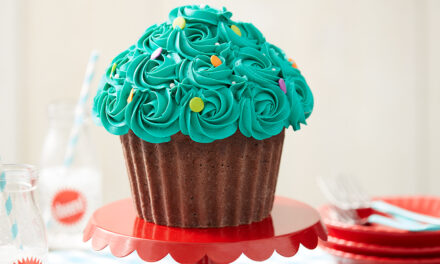
This classic swirl shape most commonly seen on cupcakes and sundaes is traditionally made using a large star 1M piping tip, but you can also try a 2D drop flower or 2A large round tip for different effects.
The basic technique is the same as you would usually use frosting cupcakes – but repeated at equal intervals along the top edge of your cake. The key is to keep the swirl sizes consistent for a uniform look. It’s a simple, elegant finish that looks great topped with sprinkles or colored sugar.
Buttercream Rope Borders
If your cake calls for a rustic or maritime feel, try a rope border using a star or round tip. This technique relies heavily on consistent, even S-shapes that are layered over each other to give the impression of a thick cord. Once you master buttercream ropes, you can even experiment with two colors at once or a striped bag for a more whimsical effect.
Which buttercream border is your favorite? Let us know in the comments below, or show us your buttercream borders by tagging us on Instagram @Wiltoncakes.


