Candy clay is a simple to make modeling candy that you can use to mold flowers and leaves to whimsical accents. This medium is often used to weave edible baskets too! It’s easy to work with; even your children will have fun shaping edible characters and trims for their own edible treats.
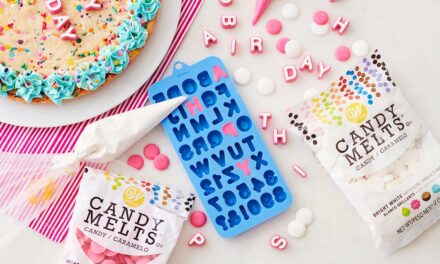
Candy clay is a sweet treat that tastes similar to chocolate, vanilla or flavored nougat candies. It is made with any of Wilton’s Candy Melts® Candy, from the White, Light or Dark Cocoa to an array of colored and flavored selection of Candy Melts.
If you’re trying to match a specific color, just tint the White Candy Melts using either the Garden Candy Color Set or the Primary Candy Color Set to achieve the shade you need. You can tint the candy in the melted stage or after it’s in the candy clay stage. Either way will work.
Let me walk you through the very easy recipe – only two ingredients!
- 12 oz. Candy Melts, your choice of color or flavor
- 1/4 cup light corn syrup*
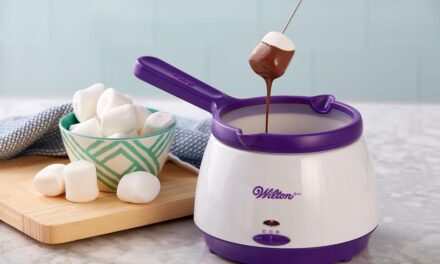
Melt Candy Melts following package directions. Be careful not to get the melted candy too hot. It should be thoroughly melted, but not hot. Add corn syrup and slowly/gently fold it into the melted candy**, continue gently stirring until fully blended. Then turn mixture out onto a waxed paper-covered cake board.
*Hint: You can also use Glucose in place of corn syrup for a more translucent petal look. Just warm the glucose, being careful not to overheat before adding to melted candy. Let the candy clay set at room temperature to dry and firm, probably about 3 or 4 hours, then seal in plastic bag until ready to use. Candy clay will give the best results if allowed to rest overnight before working with it. You might notice some white residue around the base of mound. Don’t worry, it’s just some of the fat/oil and when you knead the clay it will disappear into it. If there is a lot of it, you can trim it off before kneading the clay to soften it.
**Hint: Don’t stir fast when blending together, as you can cause the oils/fat in the candy to start separating and coming to the top, which will make the candy look very oily. If you see oil puddling around the clay once it has been turned out, you should place one or two paper towels on top and pat clay to absorb some of the oils.
Now you’re ready to start working with it. Don’t try to work with the whole piece at once, only the amount you need. The candy clay might seem hard but once you start working it, the heat from your hands will soften it, making it more pliable to shape. If you have hot hands, you might want to cool them down by holding them around a cold surface (such as a cold pop can) or set the candy clay in the refrigerator if it gets too soft.
When rolling out candy clay on a surface, you can dust the surface with a little cornstarch for white or colored clay, or use cocoa powder when using Light or Dark Cocoa so white residue isn’t on the finished piece. For easy release, roll out the candy clay between the flaps of the Fondant Storage Board.
For more dimensional flowers, characters or trims, let them dry overnight, supporting their shapes if needed. When dry, they will be firm, easy to handle and place as needed on your cakes and treats. If no dimensional trims are needed, you can also place candy clay trims directly on your cake without letting them dry.
You can also mold candy clay using candy molds. Dust the mold lightly with cornstarch or sifted cocoa, press into the cavity and immediately release. Quick treats for the children that they could do themselves.
Candy clay will last at room temperature for several weeks. Just keep it wrapped and placed in an airtight container.
Working with candy clay is just as easy as the recipe is! Have fun with it and think of all the tasty edible decorations you will be able to make to accent your cakes and treats!
Please visit our website to see how candy clay is used to make A Bear in the Air and A Single Rose Mini Cake.