Using only three ingredients, this royal icing recipe is great for decorating cookies, gingerbread houses and piping flowers. It dries hard, with a shiny smear-proof finish, and is easy to customize with color and flavor. This recipe makes 3 cups of icing and uses meringue powder rather than egg whites as the base.
Royal icing is a favorite for decorators, as it dries hard and doesn’t smudge like buttercream icing. It can be used to ice cookies, assemble gingerbread houses, pipe flowers and much more!
Made using meringue powder rather than raw egg whites, this royal icing recipe works up quickly and easily and is a cinch to customize with color or flavor.
Easy Royal Icing Recipe
Ingredients:
- 4 cups (about 1 lb.) confectioners’ sugar
- 5 tablespoons warm water
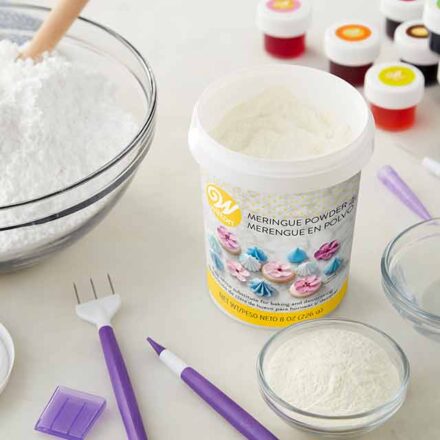
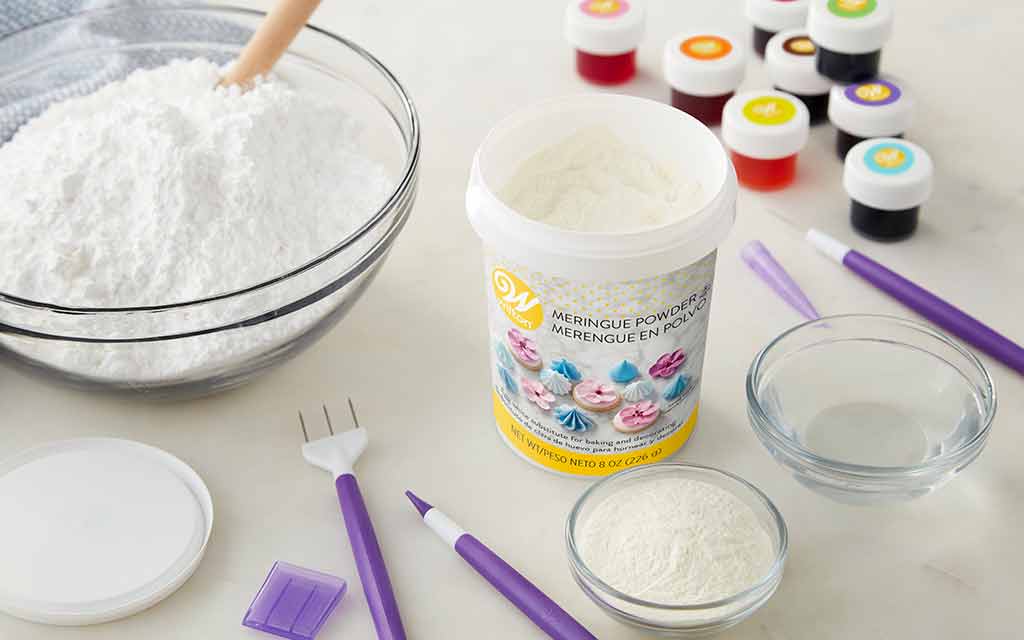
- 3 tablespoons Meringue Powder
Directions:
- Beat all ingredients together until icing forms peaks (about 7 to 10 minutes at low speed with a heavy-duty mixer, 10 to 12 minutes at high speed with a hand-held mixer).
- Let icing sit for 15 to 30 minutes to let air bubbles rise naturally. You can also tap the bowl on the table several times to force the air bubbles up. Gently stir the top surface to release the air.
- Add flavorings and color, as desired.
What is Meringue Powder?
Made mostly of dried egg whites, meringue powder is a baking substitute that you can use instead of raw fresh egg whites. It’s used mostly in making meringue, frosting and royal icing.
Meringue powder is sometimes confused with powdered egg whites, but these two ingredients have one major difference. Powdered egg whites are just that: dried egg whites. Meringue powder includes sugar and other stabilizers to help shape your icing or frosting, such as corn starch or cream of tartar. Some may also have a slight vanilla flavoring.
While traditional royal icing recipes use raw egg whites, our recipe uses meringue powder for safety and convenience. Meringue powder is also easier to measure consistently so your icing is perfect every time! You can learn more about meringue powder, and how to use it, on our post, How to Use Meringue Powder.
Flavoring for Royal Icing
On its own, royal icing has a sweet, vanilla flavor. This comes from the confectioners’ sugar and the meringue powder. If you want to brighten up the flavor a bit, you can add your favorite non-oil based flavoring, such as almond or orange extract.
Be careful not to use oil-based flavors, like those used for hard candies or ice creams, as these will break down your icing, rendering it unusable.
How to Color Royal Icing
The best way to customize your royal icing is with color! Royal icing can be colored just like buttercream, with icing colors or Color Right Concentrated Food Coloring. Avoid using powdered or watery food coloring, as these can affect the consistency of your icing.
Keep in mind that royal icing also darkens as it dries, so make your icing just a little lighter than your desired color.
Some colors, such as red and black, may require the use of more food coloring to get the right shade. If your icing begins to thin out because of this, you can add a little more confectioners’ sugar until it reaches the correct consistency.
How to Get the Right Royal Icing Consistency
Whether you’re piping flowers, assembling a gingerbread house or decorating sugar cookies, there’s an easy way to get the right royal icing consistency for your project.
Royal icing can be prepared to stiff, medium or thin consistency, all by adjusting the water or sugar content.
Stiff Consistency
Use for:
- 3-D decorations
- Gingerbread houses
- Piping roses and flowers with upright petals
Prepared as is, our royal icing recipe will result in stiff consistency icing. If you need stiffer icing, prepare the royal icing recipe with 1 tablespoon less water.
Medium Consistency
Use for:
- Outlining cookies
- Flowers
- General piping and decorating
For medium consistency, add 1/8 teaspoon of water for every cup of stiff icing.
Thin Consistency
Use for:
- Flooding cookies
- Pouring on cakes
For thin consistency, add 1 teaspoon of water per 1 cup of icing. Use a grease-free spoon or spatula to stir the icing slowly in a figure 8 motion. Avoid beating or mixing vigorously, which will introduce more air bubbles into your icing.
Some projects will instruct you to thin your icing to a count of 10 or 20. This is a simple test to make sure your icing is the correct consistency for flooding.
To do this, use a spatula to pick up some icing and drop it back into the bowl. If it sinks and disappears back into the icing after the desired count number, you’re good to go!
If it disappears before your count, your icing is too thin. You can thicken it by adding a little more confectioners’ sugar. If your icing doesn’t disappear after you’ve reached your count, it’s too thick. You can thin it with a little water.
How to Fix Royal Icing Consistency
If your icing is too thin or too thick, there’s a quick and easy fix! To thicken your icing, simply add more confectioners’ sugar (you can also add cornstarch if you don’t want to add more sugar), 1 tablespoon at a time, until you reach the desired consistency.
If your icing is too thick, add water, ½ teaspoon at a time, until you reach your desired consistency.
Using Royal Icing for Sugar Cookies
Perhaps one of the most popular uses for royal icing is to decorate sugar cookies! A medium consistency icing is often used to outline your design, then a thin consistency icing is used to flood, or fill in, the cookie once the outline has dried.
For easy outlining, we suggest using a round #3 or #4 tip. This tip size gives you better control without putting too much stress on the decorating bag. Fine lines and detailing can be piped with a thin round #1 or #2 tip.
For flooding, you can use a round #4 or #6 tip, depending on the project, or simply cut a small tip off the end of your decorating bag.
The great thing about using royal icing for sugar cookies is that it dries hard, so you can package and gift your treats without worrying about the icing getting damaged or smudged. Make sure you allow your cookies a full 24 hours to dry at room temperature before packaging.
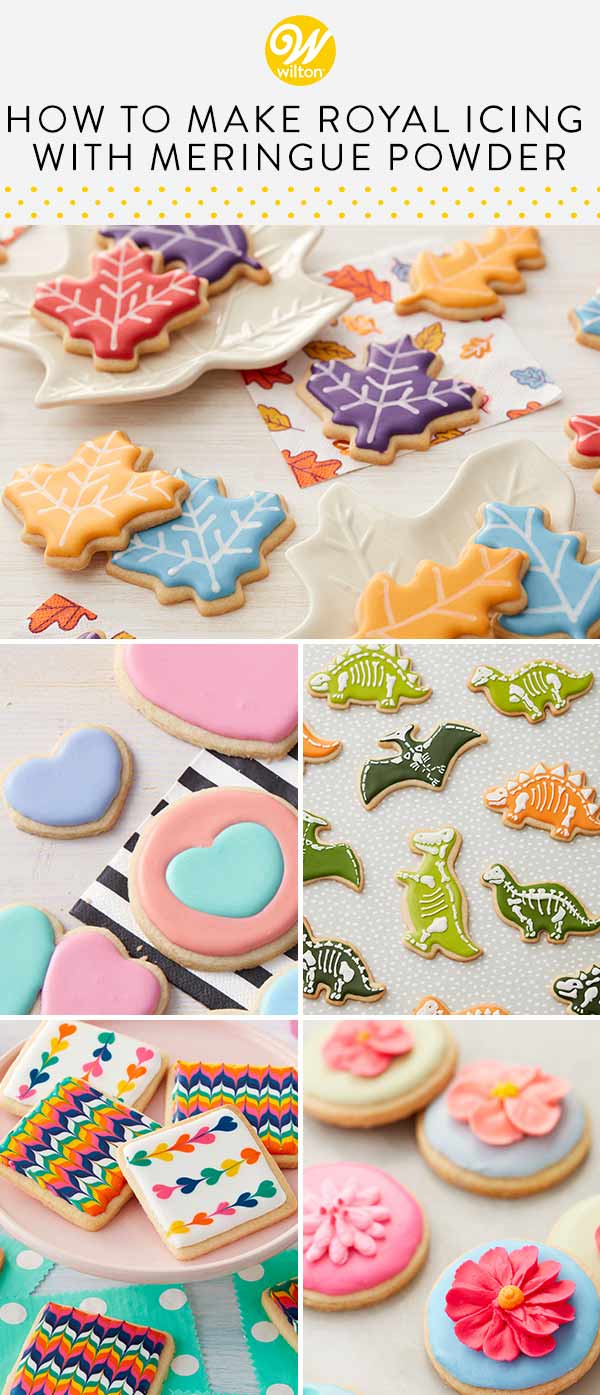
If you’re looking for some cookie inspiration, check out these awesome ideas, all using royal icing!
- These Dinosaur Skeleton Cookies are bound to become extinct at your dino-themed celebration.
- Create cookies that sparkle and shine with these Sparkling Stars and Diamond Cookies.
- You’ll simply fall for these easy Autumn Leaf Cookies, great for beginning decorators.
- Enjoy a little taste of summer anytime with these Summer Sun Beach-Themed Cookies.
- If you love to doodle and draw, you’ll love making edible art with these Perfectly Imperfect Freehand Cookies.

How Long Does it Take Royal Icing to Harden?
Royal icing dries hard, but it can take up to a day to dry fully, depending on the humidity, temperature and thickness of the decorations.
Most decorations will harden in about 8 to 12 hours (or just let them sit out overnight). Flowers, such as roses or lily nail flowers, may take up to 24 hours, as they’re denser and thicker than standard decorations.
Royal icing also dries at room temperature, so no need to refrigerate or chill your treats. In fact, it’s best to keep them out of the cold, if possible, as the moisture in the refrigerator can ruin your decorations.
Other Uses for Royal Icing
Royal icing can also be used to pipe flowers, make edible decorations for cakes and cupcakes, assemble and decorate gingerbread houses and even for homemade sprinkles!
Since royal icing does dry hard, we don’t recommend using it to ice cakes or cupcakes, as this could make it difficult to cut or eat. However, you can use a thinned royal icing to pour over your cake (like a glaze or a ganache). It won’t dry as hard as medium or stiff consistency icing, but it will hold its shape at room temperature.
How to Prevent Lumps and Bubbles
There’s nothing worse than lumpy icing! It can prevent your cookies from having a nice, smooth finish and can make the icing difficult to pipe. The best way to avoid getting lumps in your icing is to sift your confectioners’ sugar and meringue powder before mixing your icing. This will help break up any lumps and will help everything incorporate smoothly and evenly.
Bubbles are a sign of too much air in your icing. To avoid this, use a paddle attachment on your stand mixer (rather than a whisk attachment, which should be used for meringues). You can also remove air bubbles by lightly tapping the bowl on the counter a few times to help bring air bubbles to the top.
Bubbles may also be caused by vigorous stirring, especially when trying to thin your icing. To avoid bubbles, use a flat tool and a figure-8 motion to prevent air from incorporating into the mixture.
How to Store Royal Icing
Icing can be stored in an airtight container at room temperature for up to 2 weeks. Before re-using, rewhip the icing using a paddle attachment until it’s back to the correct consistency.
Unlike buttercream or cream cheese frosting, royal icing should not be refrigerated or frozen. The cold moisture in the refrigerator could break down the icing.
Decorations made with royal icing, such as flowers and roses, can be kept for several months in a cool, dry environment in a non-airtight container (a cake box is perfect for this!).
Other Tips and Tricks for Using Royal Icing
- To prevent your decorating tips from getting clogged, wrap the tip of the bag in a damp paper towel when not in use.
- You can also use a damp paper towel to cover any bowls of icing when not in use.
- If you need an outline for your design, draw it directly onto your cookies using a FoodWriter edible marker.
- Use a toothpick to help spread icing into tight spaces and pop any air bubbles.
- Grease (like butter or oil) will break down your icing, so make sure all your utensils, including your paddle attachment, mixing bowl and spatula, are super clean before use.
- If you need your cookies or decorations to dry quickly, use a fan to speed up the drying process.
Want to learn more about Buttercream? Check out these other blog posts:
Easy Royal Icing with Meringue Powder
Ingredients
- 4 cups Powdered Sugar (Confectioners' Sugar)
- 5 tablespoons Water Warmed
- 3 tablespoons Meringue Powder
Instructions
- Beat all ingredients together until icing forms peaks (about 7 to 10 minutes at low speed with a heavy-duty mixer, 10 to 12 minutes at high speed with a hand-held mixer)
- Let icing sit for 15 to 30 minutes to let air bubbles rise naturally. You can also tap the bowl on the table several times to force the air bubbles up. Gently stir the top surface to release the air.
- Add flavorings and color, as desired.




Easy and fast to make! I did have to use a tiny bit more water to thin mine out, but it worked great! I did add 1tsp flavoring. Not too messy!