
Did your homemade buttercream come out runny or too dry? Are your buttercream flowers drooping or is your frosting filled with air bubbles? We’re here to help!
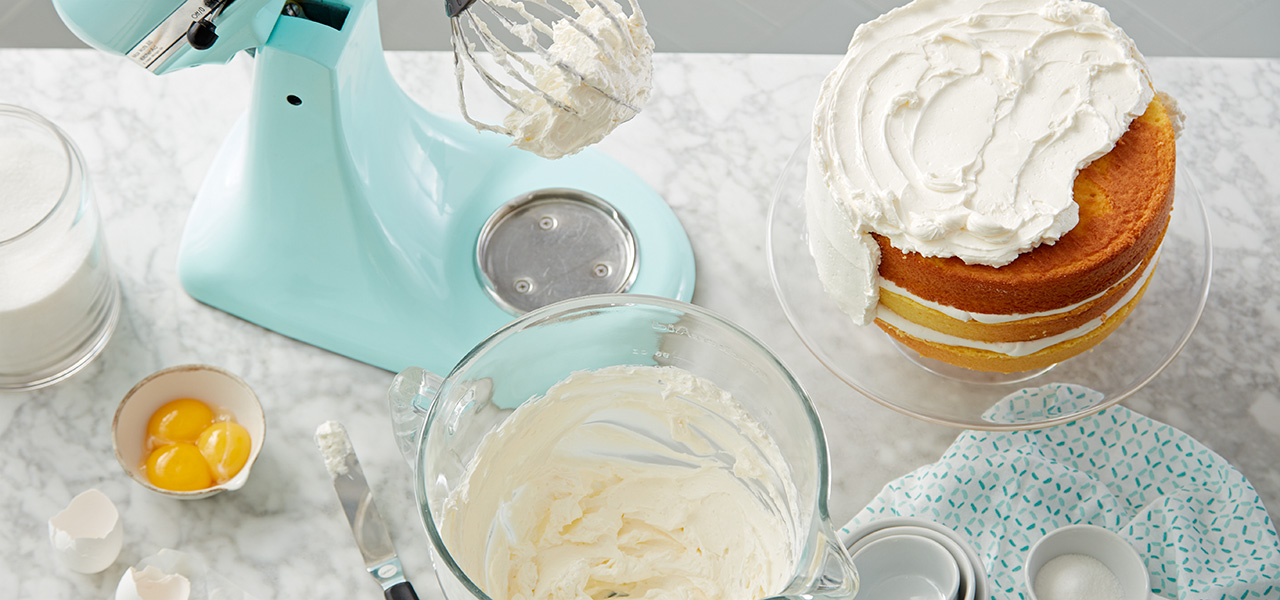
Making your own buttercream from scratch is a great way to add flavor and personal flair to your cakes and cupcakes, but if your butter is too soft or the room is too hot, your frosting may not come out as desired. Thankfully, once you know these little tips and tricks for making buttercream frosting, you’ll be enticed to ice every cake that comes your way!
How to Thicken Buttercream Frosting
Adding flavor to your buttercream is an easy and sure-fire way to customize it to your liking; however, too much liquid flavoring could cause your buttercream to soften. To thicken your frosting add confectioners’ sugar, one tablespoon at a time, until you achieve your desired thickness. If you want to add flavor to your frosting, try concentrated flavorings such as Treatology rather than juice or purees, which can add too much liquid and thin down your frosting.
It’s also possible that the butter or shortening were too warm to start (or the kitchen is too hot), which is often the cause of separation. To help ensure your buttercream does not separate, make sure your oven is off and the room isn’t too warm. If your frosting starts to appear soupy or runny, stop mixing and chill the bowl and paddle for about 10 minutes until the mixture solidifies a bit, then rewhip it. If heat is inevitable, try a buttercream recipe with little to no butter, like our Snow White Buttercream.
How to Fix Grainy Buttercream Frosting (or Frosting That is Chunky, Broken or Curdled)
The great thing about our buttercream recipe is that it’s not prone to curdling due to its low liquid content; however, if your buttercream has curdled, appears broken or the texture seems off, it’s most likely due to the temperature of your ingredients.
For best results, make sure all your frosting ingredients are at room temperature before combining. This is especially true if you’re using both butter and shortening in your recipe. If both fats are not at the same temperature, they will either liquify (if too warm) or not disperse evenly (if too cold) and your frosting will appear grainy or chunky. Adding cold liquids to a room temperature mixture can also create a similar issue, so make sure your milk or cream is at room temperature before adding.
As a general rule, room temperature butter should still be firm, but should indent easily if you press on the surface with your finger. If your finger feels very greasy after touching the butter, it’s too warm. Shortening should always be stored at room temperature and should be solid, yet creamy, before using.
Curdling can sometimes happen when rewhipping frozen buttercream. If this happens, your buttercream is likely too cold. Let it sit for a few minutes to warm up before rewhipping for better results.
A broken buttercream is often caused by adding too much liquid to your recipe. To avoid this, try using concentrated flavors, such as extracts, jams or even citrus zest rather than juice or puree.
How to Make Frosting Thicker for Piping (or Thinner for Spreading)
Thankfully changing the consistency of your frosting is one of the easiest fixes! Our Frosting Consistency Chart makes it easy to achieve the consistency you need for your decorating project.
Generally adding more liquid will thin down your frosting and confectioners’ sugar will make it thicker. Doing these will also affect the taste of your frosting, so be sure to sample as you go.
Why is My Buttercream Drooping and Wilting?
If your buttercream looks like it’s falling off the cake or your piped decorations begin to droop, it’s very likely the temperature in the room is too hot, causing your buttercream to melt. Unfortunately, it’s hard to control room temperature in some climates, so we recommend using our High Humidity Buttercream or Snow White Buttercream if you’re making a cake on a hot day or in a warm environment. Both of these frostings contain shortening, which has a much higher melting point than butter, giving your decorations better stability. You can also add a tablespoon of Meringue Powder for added strength.
Why is My Buttercream Not Crusting?
Crusting means that the outer layer of frosting is dry to the touch, forming a soft “shell”. Crusting is especially important when crumb-coating a cake or piping flowers, borders or other decorations.
If your frosting isn’t crusting, it might be because your frosting has a high butter content. Using a recipe with shortening increases the likelihood of crusting, as does adding more confectioners’ sugar (however this can also make your frosting too sweet, so be sure to taste as you go). If you’d rather not use shortening or confectioners’ sugar, you can add 1 tablespoon of Meringue Powder to a full buttercream recipe to increase stability.
Why Does My Buttercream Have Air Bubbles?
Air bubbles are caused by incorporating too much air into your frosting, which happens during the mixing process. Incorporating air makes the frosting light and fluffy but adding too much can create large air pockets.
To avoid air bubbles, make sure you’re using the paddle attachment on your stand mixer (or beaters for a hand mixer). The whisk attachment will incorporate too much air into your frosting. Be sure to stop and check the consistency of your frosting as you go and avoid mixing for too long at high speeds.
If your frosting already has air bubbles, let it rest for a few minutes. This allows the buttercream to deflate. After a few minutes, use the macaronage technique to remove air from frosting (using a spatula, press frosting to the side of the bowl – scrape and repeat until it looks smooth).
What buttercream tips and tricks can you share with us? Let us know in the comments below!


